DIY Cleaning Recipes

Made + Remade On Location | Hannah & Husband

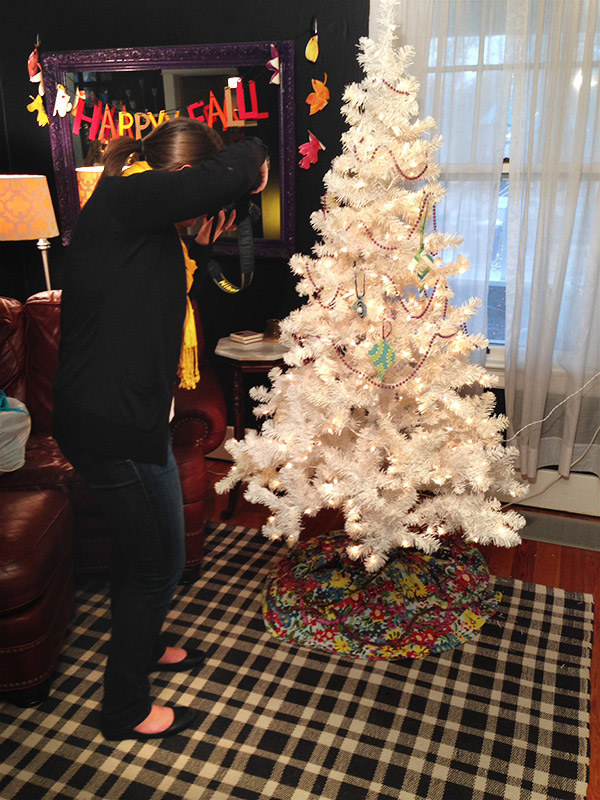
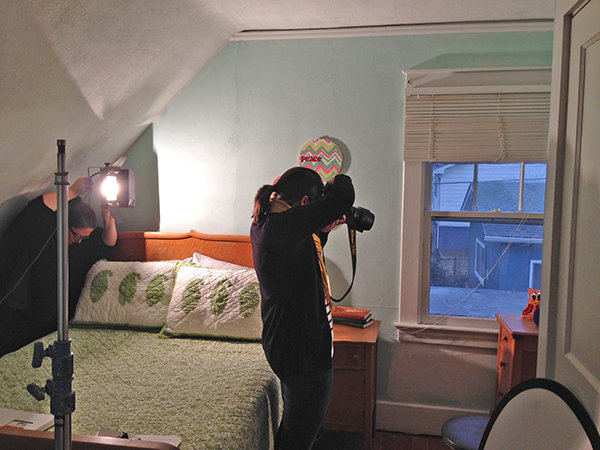
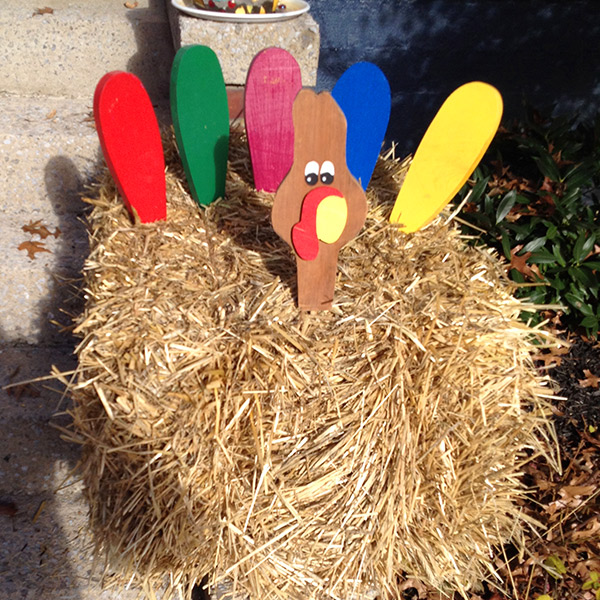
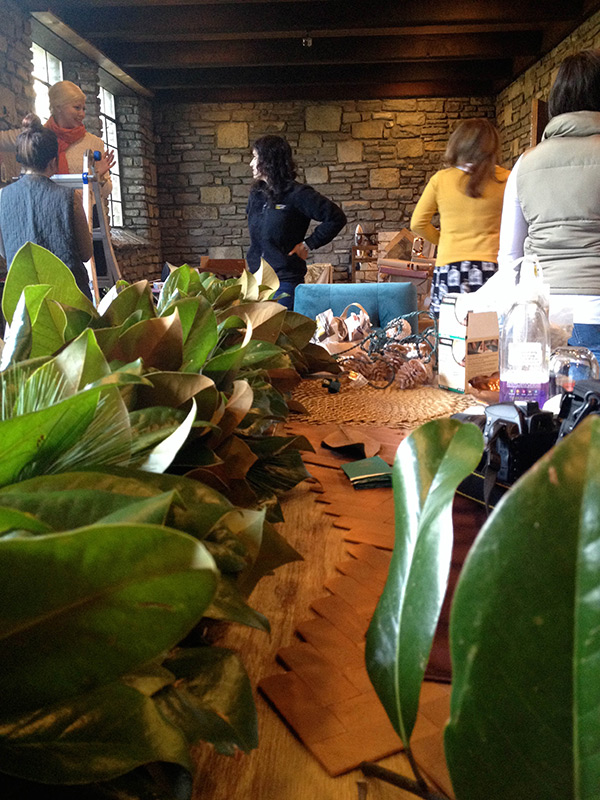
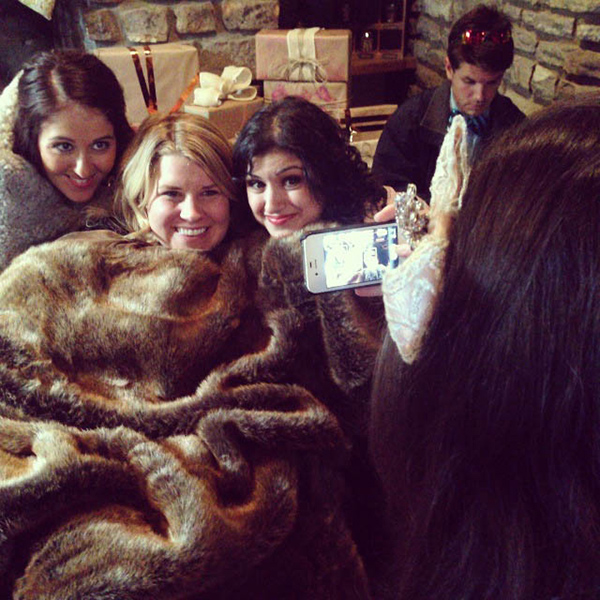
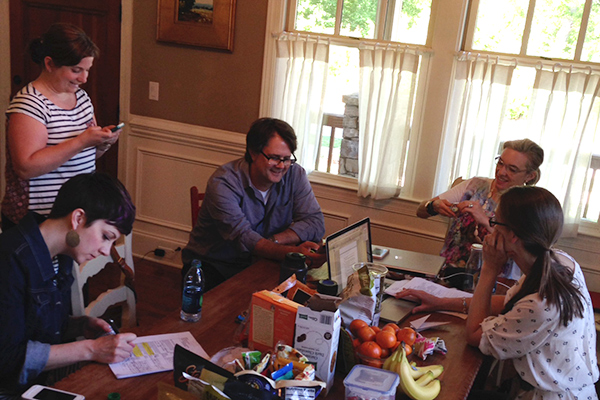
The Made + Remade crew (& Peter from the Scripps video team) plotting out the awesome. Clockwise from Peter: Michele, Emily, Ellen, and Kelly

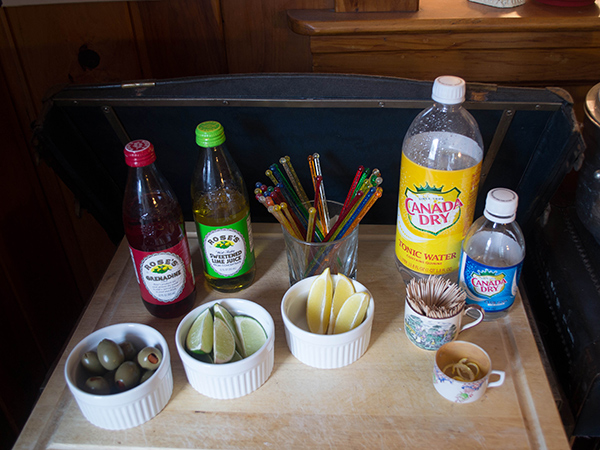
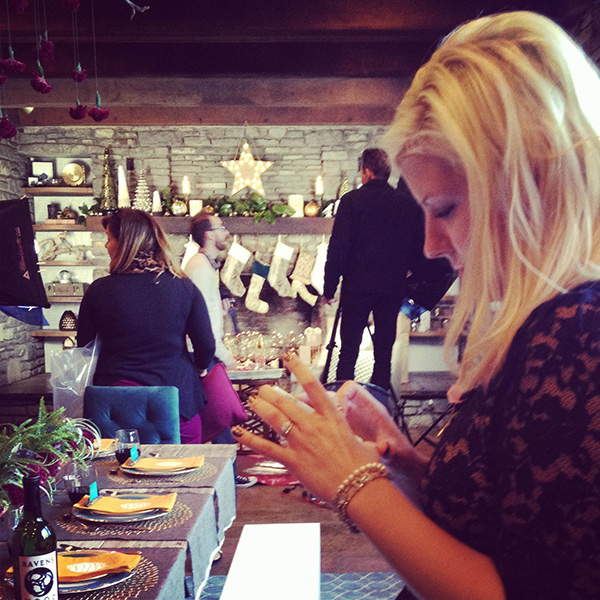
Do you remember a few months ago when the Made + Remade crew headed to Asheville? Well, we can finally share the videos we were creating! My series was all about DIY cleaning recipes for everything from homemade dishwasher pellets to nifty ways to remove stains from your carpet.

Above, you’ll find a link to the DIY Cleaning Recipes playlist. You can also click here to watch Ellen’s “Essential Knots to Know” videos or click here to see Emily’s videos on “How to Fold Anything.”

Please take a sec to watch a video or two on YouTube and comment to let us know what you think!

For more great DIY projects, check out the Made + Remade blog on diynetwork.com

Heart Hair Clip

As you know, I’ve been on a bit of a hair accessory kick lately. I love the sparkly baubles to put in my hair, but I really hate paying much for them. A few weeks ago, I showed you this Vintage Button Hair Bauble I made from some of Nana’s button collection. Today, I thought I’d show you how I made this sequined heart.

Heart Hair Bling | Hannah & Husband

For this, I just layered sequins onto a piece of wool felt one night while watching Pitch Perfect. (Seriously, how much do you adore that movie?)

Tip: Use real wool felt. It’s heftier than the cheaper synthetic stuff and will keep its shape.

Heart Hair Bling | Hannah & Husband

As you can see, this time I used a piece of paper to try to prop the clip open against the hot glue. While it did the trick or helping me not glue the clip shut, it left behind some paper. So not only does it look terrible; it also makes the piece harder to take in and out.

After experimenting a bit more, I’d just recommend holding the clip open. The glue doesn’t take very long to dry.

Heart Hair Bling | Hannah & Husband

After the last hair post, I got several questions (on the post and via social media) about how I do my hair. I’ll post a video of that soon!

Vintage Button Hair Bauble

Vintage Button Hair Bobble How-To | Hannah & Husband

When I was little, I would spend afternoons sorting through my mom’s old button collection while she sewed. So when I inherited Husband’s beautiful Nana’s vintage collection, it was like getting a jar full of gold! Since then, I’ve been trying to figure out ways to incorporate these little treasures into my everyday style. My latest idea: hair baubles! Here’s how you can make your own.

button-hair-bauble

Vintage Button Hair Bobble How-To | Hannah & Husband

First things first: Gather your materials.

  • 2 identically cut pieces of felt
  • a hair clip (you can get these from any craft store or beauty supply)
  • needle
  • thread
  • vintage buttons
  • a glue gun

Vintage Button Hair Bobble How-To | Hannah & Husband

I started by sewing buttons onto the green piece of felt that I didn’t mind showing up a little behind them. Start with the biggest ones and then fill in with smaller buttons, beads, and pearls.

Vintage Button Hair Bobble How-To | Hannah & Husband

Vintage Button Hair Bobble How-To | Hannah & HusbandNext I sewed the navy piece of felt onto the back to keep all those knots from showing.

I could have sewed the hair clip on the navy piece before doing sewing the two together, but I chose to just hot glue it on. In retrospect, sewing probably would’ve made for a prettier back.

Voilà!


Excuses. Excuses.

View More: http://leahbullard.pass.us/hannah

Photo from our shoot with Leah Bullard Photography… note the bench.

I’ve been a bit MIA lately, but with very good reason. I’ve been working on several projects and while some are still secret, I thought I’d share the few that I can! I’m proud to announce, you can now view my work and the things that I make at hannahbdesign.com.

hannahbdesign

I’ve also been busy blogging over at Made + Remade. You can check out the new $5 light fixture in my studio or this rad bench I made with my HGTV pals and the ladies from Spruce Upholstery over there.

maderemade-light

diy-maderemade-bench

Finished product in the top pic.

Take a peek at my new desk in the HGTV offices and get tips for fixing up your own workspace.

maderemade-desk

Also, if you’re interested in some serious lovey-dovey-ness, the M+R crew wrote profiles on the Makers We Love so be sure to check those out. (Link to my profile of Husband.) 

loveit-sprinkles-square

So hopefully that little round-up makes things a bit more clear. We should be back to our regularly scheduled programming now. Thanks as always for all your encouragement through comments, notes, and social media. Husband & I really love sharing our little corner of the interwebs with you!

Bangle Holder DIY

Bangle Holder DIY | Hannah & Husband

This bangle holder was a super easy DIY that totally brightened up my vanity so I thought I would share it with you! I’ve always loved the silhouette of beautiful candlestick holders. See exhibits a, b, & c.

And I also happen to enjoy stalking the $1 aisle at Target. So when I scored these little ceramic candle holders, I couldn’t resist. So here we go: a super cute $2 bangle holder.

Bangle Holder DIY | Hannah & Husband

I used a little super glue to join them together. (Added masking tape to hold them in place while the glue set–super scientific as always.)

Bangle Holder DIY | Hannah & Husband

Then, I had Husband cut me a small square  for a base. Add a little paint, fill it up with bangles, and voila!

Bangle Holder DIY | Hannah & Husband


Party Photo Booth DIY

Party Photo Booth DIY | Hannah & Husband Looking for a cool way to document your New Year’s shindig? Let me suggest setting up your own photo booth. We set one up in my office for our Cocktails & Carols party, and it served as a living guest book. We captured some really fun moments, and (BONUS) it was a great alternative to people walking around with their phones all night taking selfies. Plus, it was super easy to set up! Here’s what we did. Party Photo Booth DIY | Hannah & Husband

On one wall of my office, we hung fabric and tinsel with push pins from the top of the window molding so we wouldn’t have to patch any holes in the wall. Then, we put a bench in front of that big enough for 2-3 people.
Opposite the fabric, we set up our camera on the self-timer setting with instructions hanging in front of it.
Party Photo Booth DIY | Hannah & Husband

The party was “black tie or festive,” which gave Cindy an excuse to pull out the family jewels.
Note to self: we should all find more reasons to wear tiaras.

Finally, we added a table full of props. I would say glittery things and mustaches are musts. Bonus points for fab headwear!
Party Photo Booth DIY | Hannah & Husband

Recognize these lovelies? Deanne blogs for Made + Remade, and Liz is an online editor for HGTV!

Party Photo Booth DIY | Hannah & Husband

Kayla is the cutest–always!

So now I’m on the lookout for more ideas.
How do you document your parties? Any fun ideas?


12 Days of HGTV HOME Fabric: Behind the Scenes

Behind the Scenes with HGTV HOME's 12 Days of HGTV HOME Fabric Contest | Hannah & Husband

See this necklace? Check out the how-to on DIYNetwork’s Made + Remade!

Twas the weekend of Thanksgiving when all through the house, Husband & I were getting ready for a photo shoot with HGTV HOME!

Behind the Scenes with HGTV HOME's 12 Days of HGTV HOME Fabric Contest | Hannah & Husband

You may recall images like this little elephant blowing up my instagram. 

Behind the Scenes with HGTV HOME's 12 Days of HGTV HOME Fabric Contest | Hannah & Husband

Well she, along with several other fabric projects, are all part of the “12 Days of HGTV HOME Fabric” Contest! Here’s how to enter:

hgtv-home-12-days-fabric_facebook-tab_400x700


So you obviously can pin anything, but, to get you started, a couple of us from DIYNetwork’s Made + Remade teamed up with HGTV editors to create Pinterest-worthy projects using HGTV HOME products.

Here are some behind-the-scenes photos of the photographers at our house shooting the projects! As you can see, it was a dreary day, but you’d never know it from the final pics.

Behind the Scenes with HGTV HOME's 12 Days of HGTV HOME Fabric Contest | Hannah & Husband

Lest you think all photo shoots are glamorous, here are Crystal & Sarah crammed in our teensy guest room.

Behind the Scenes with HGTV HOME's 12 Days of HGTV HOME Fabric Contest | Hannah & Husband

Husband hanging Marianne’s embroidery hoop tree in our stairwell.

Behind the Scenes with HGTV HOME's 12 Days of HGTV HOME Fabric Contest | Hannah & Husband

Wreath by Liz & cookie cutter ornaments by Farima. As a side note, we’ve left the little tree there and put other ornaments on it. We’ll eventually use it to make a custom hedge, but I love the little front porch christmas tree in the meantime!

Behind the Scenes with HGTV HOME's 12 Days of HGTV HOME Fabric Contest | Hannah & Husband

So go create your own “12 Days of HGTV HOME Fabric” pinterest board, and don’t forget to use the hashtag #12daysofhgtvhome! The deadline to enter is December 24th so get to pinning!

Thanksgiving Decoration: Turkey in the Straw

Turkey in the Straw DIY | Thanksgiving Decor by Hannah & Husband

Several years ago my mom picked up this fun little turkey. Every year she would buy an oversize pumpkin for Halloween, and then come November she would add the turkey to the pumpkin. This year as she pulled the feathers and head out of storage a couple of the dowel rods were broken, so she asked me to do a little turkey surgery. After I fixed hers I stuck them in a straw bale on our front porch. Voilà: Turkey in the Straw.

Turkey in the Straw How-To | Hannah & Husband

Click here to listen to Turkey in the Straw for a little inspiration while you work.

Before she came to take the turkey back, we decided it would be fun to have one of our own. We cut the shapes out of a scrap of 3/4″ plywood using a jigsaw (for a more permanent turkey use solid wood and be sure to waterproof it), and Hannah painted them to the colors of her choosing. Take a look at our process, and download the templates to create your own!

Turkey in the Straw How-To | Hannah & Husband

Turkey in the Straw How-To | Hannah & Husband

Turkey in the Straw How-To | Hannah & Husband

Looking for more Thanksgiving inspiration? Click here.

Our Home Bar: Repurposed Steamer Trunk

trunk-before

The trunk (and floor) before a major overhaul

Hannah and I have always loved taking weekend drives up into the Smoky Mountains. Early in our marriage, while we were still trying to furnish our new (to us) home, we stopped at a little antique store on one of these drives. Filled primarily with the usual suspects, we did happen across one item that stood out: a vintage steamer trunk.

Joe Versus the Volcano

I’ll never let go, Jack!

We loved the look of it, and thought it would make the perfect end table or ottoman. However after a year or so, and a steadily growing liquor cabinet, we decided to repurpose the trunk. We removed four of the drawers, keeping the top for cocktail books & napkins, and creating shelving with the rest. We kept the fronts for the bottom drawers in order to hide the less attractive (or downright embarrassing) bottles. The left side had a perfect shelf at the top for a cutting board we already had, and underneath I put together a wine and glass rack with pine and a brad nailer. We liked the look of the unfinished wood enough that we’ve kept it that way.

trunk-bar-hannahandhusband-1

The steamer trunk is a conversation piece, and utilizing it as a bar has given us a beautiful and organized way to store our wine & liquor.

Plus, when the house sitter comes over, we can close it.

trunk-bar-hannahandhusband-3

Bar + Dexter photobomb on the far right

trunk-bar-hannahandhusband-2

trunk-bar-hannahandhusband-4

On a related note, Hannah has a post on DIY’s Made + Remade today that will help you stock your own bar for the holiday season.


HGTV Home for the Holidays: Behind the Scenes

HGTV, holiday party

That’s me, Blondie, instagramming away!

If you’ve been watching my Instagram this week, you know that our Made + Remade crew over at DIY Network teamed up with HGTV’s Design Happens to throw a holiday party of epic proportions. In the coming weeks each of the blogs will be posting about how we pulled together everything from the mantel to the bar with our characteristic sparkle & charm. The fabulous team put together some really unique projects inspired by Liz’s vision of a modern, rustic holiday party. (See her mood board post here.) We shot in a stone room at the Knoxville Botanical Gardens, and while I can’t give away the finished shots, I just had to share some behind-the-scenes peeks!

HGTV, holiday party

Despite the fact that it made my face itchy (I’m allergic to Christmas.), that big, leafy thing on the left was one of my very favorites. My friend Virginia made it–she’s the one wrapped in fur below.

HGTV, holiday party

Kayla, Virginia, & Farima getting cozy with Grant hiding in the back. That fabulous bow with the mad iPhone skills? That would be my girl Deanne!

HGTV, holiday party

Keri rocked out a beautiful hanging sculpture. Finished pics will be on one of the blogs in a couple weeks.

HGTV, holiday party

Liz has a serious gift for baked goods. Wait until you see the rest of the food–it was gorgeous!

My first contribution are some invites you can download and then dress up. Click here to read the post!