DIY Image Transfer

DIY Image Transfer How-To | Hannah & Husband

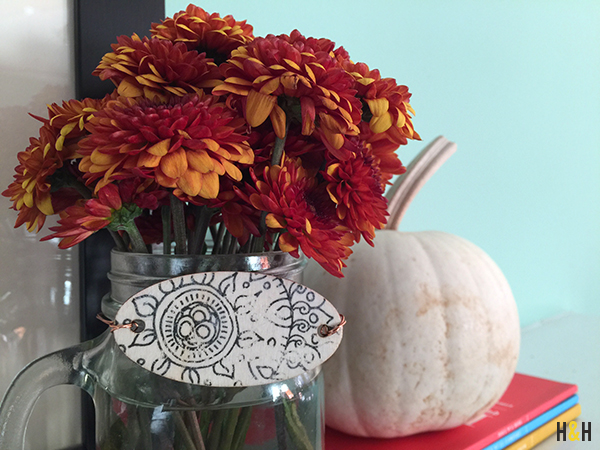
As I was doodling mandalas for DIYNetwork.com, I got an idea for a funky gift tag. In college, I played a bit with image transfers (like every other design student in history), and I’d been itching to try them again. So today, I thought I’d show you how I DIYed these gift tags using an image transfer. It adds such a personal touch and bonus: it’s super easy and quick–2 minutes + walk away for an hour + and 5 more minutes.

DIY Image Transfer How-To | Hannah & Husband

You’ll Need:

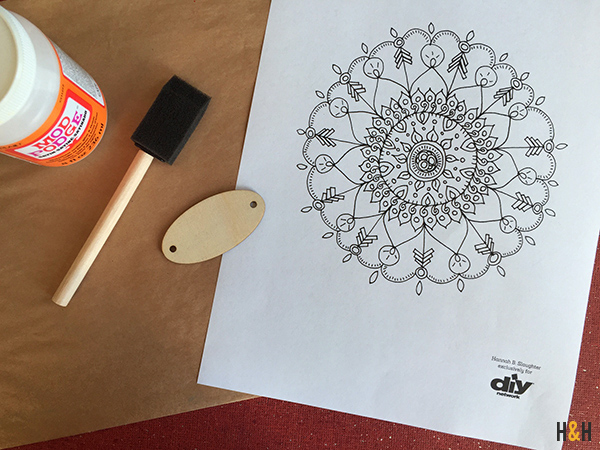
Mod Podge (Don’t worry about the sheen!)
foam brush
wooden gift tag
spray bottle full of water
an image to transfer*

*Note about the image: You can easily transfer a variety of images, but the easiest is a print made with a laser printer. If you want to make some bohemian printed gift tags like mine, click here to download the mandala I used from DIYNetwork.com

DIY Image Transfer How-To | Hannah & Husband

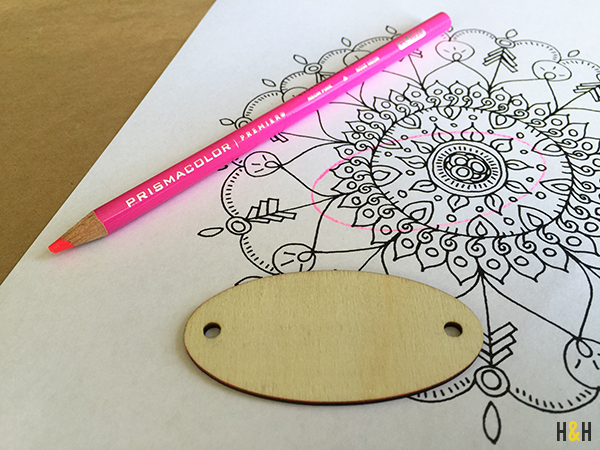
The first thing you’ll do is trace your tag with a pencil on the mandala. (I’d suggest doing several at once.)

DIY Image Transfer How-To | Hannah & Husband

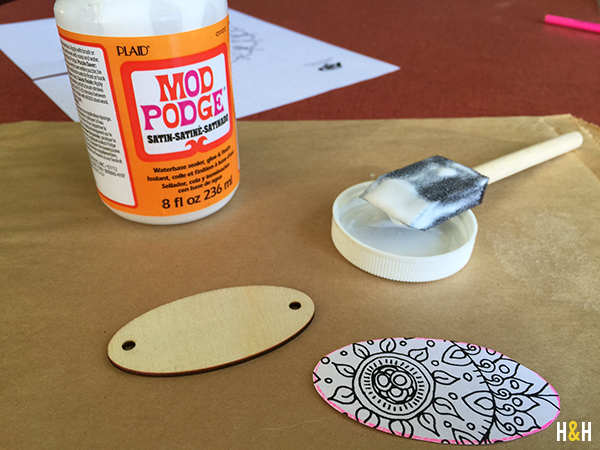
Cut out your traced shape And put a good layer of Mod Podge on the image.

DIY Image Transfer How-To | Hannah & Husband

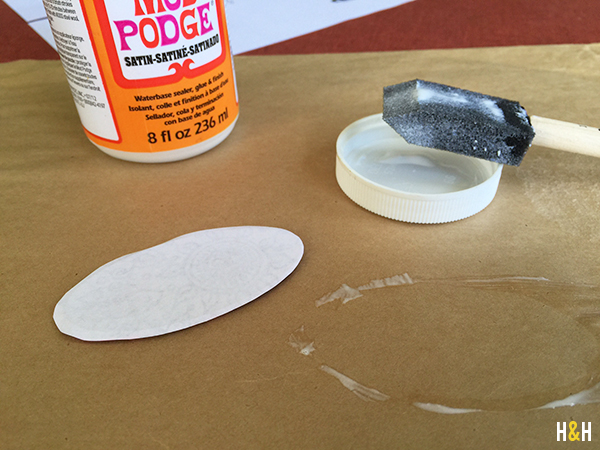
Lay the image on top of your tag and walk away.

Let it dry for one hour.

DIY Image Transfer How-To | Hannah & Husband

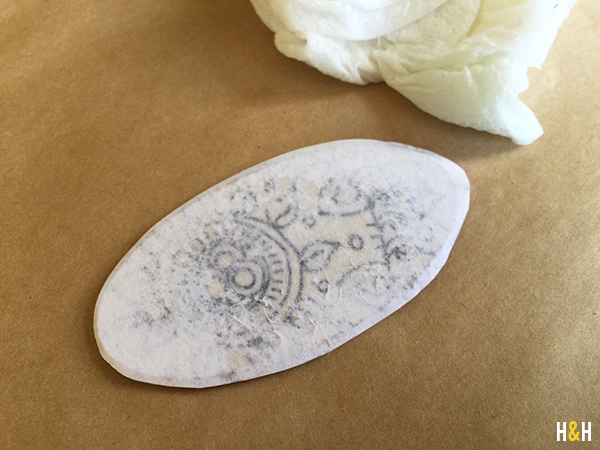
After an hour, use a spray bottle to dampen the paper. As it dampens, it will start to become translucent.

DIY Image Transfer How-To | Hannah & Husband

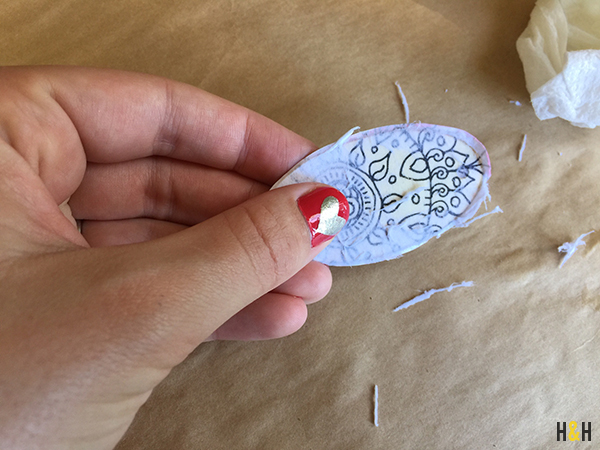
Gently start rubbing away the paper.

DIY Image Transfer How-To | Hannah & Husband

Alternate between gently rubbing away the paper and dampening until all remnants of paper are gone.

DIY Image Transfer How-To | Hannah & Husband

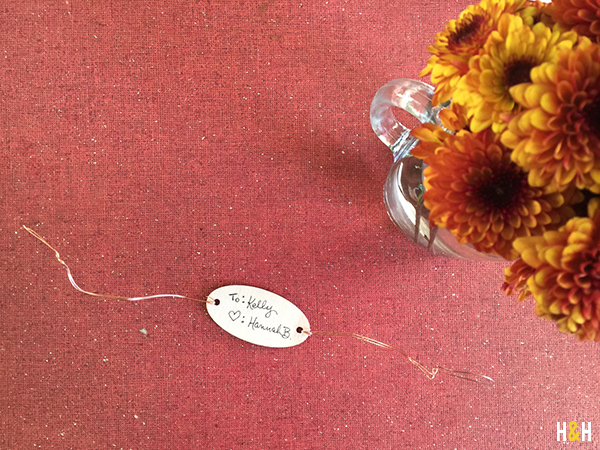
And that’s it! You can put a little message on the back of your label and then affix it to your gift.


How to Care for Butcher Block Countertops

How to Care for Butcher Block | Hannah & Husband

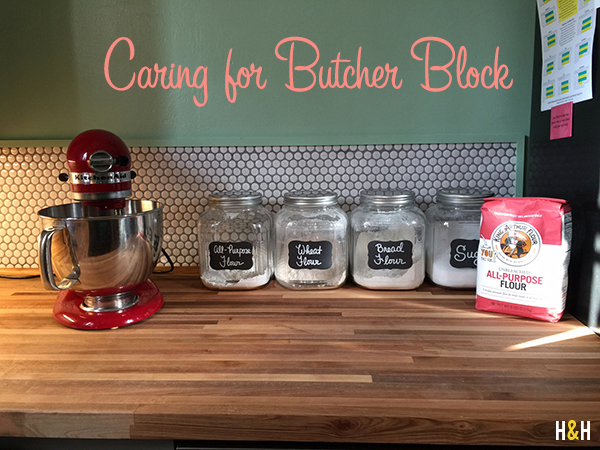
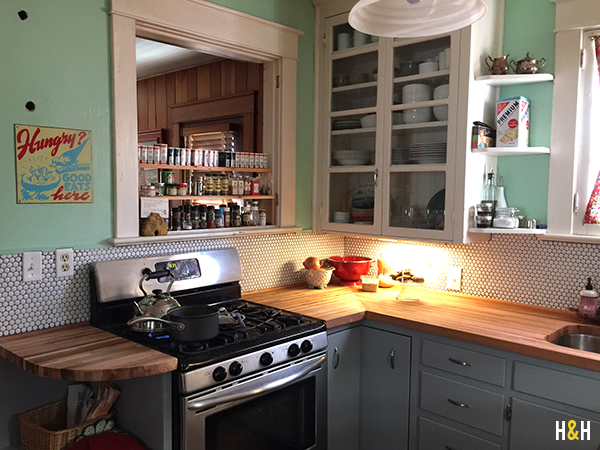
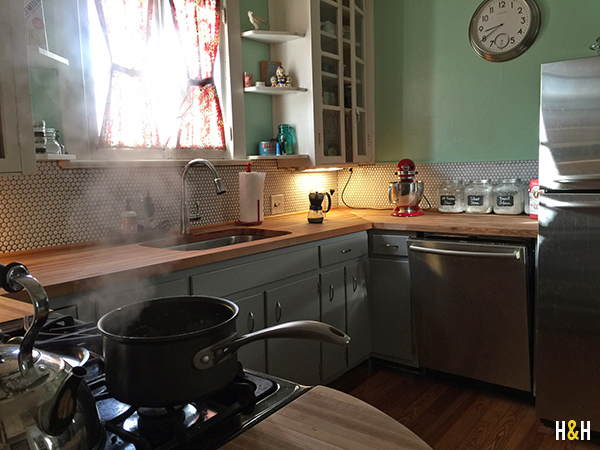
Today we’re going to talk about how to care for butcher block countertops. The main reason for this is because I’ve gotten a lot of questions about how to care for butcher block countertops. But the real reason is that we’ve been in the new digs for about a week, and I really miss my kitchen. Like OMG with Barbra Streisand singing “The Way We Were” miss my kitchen, you guys.

How to Care for Butcher Block | Hannah & Husband

There are two parts to caring for butcher block countertops: conditioning the wood and cleaning the wood.

How to Care for Butcher Block | Hannah & Husband

To Condition:

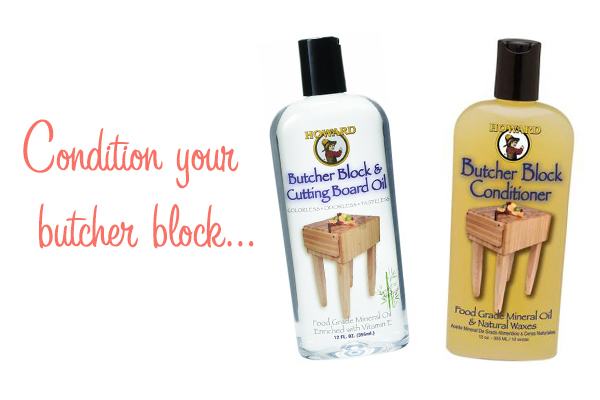
You’ll need to season the countertops when you first get them–much like you would an iron skillet. This means sealing them with several coats of oil until they are well-conditioned. When the wood is raw it is super thirsty and will soak up several (I believe ours took about five) coats of oil. However, when the wood is conditioned it looks rich and beautiful and drops of water should bead up on the surface.
How to Care for Butcher Block | Hannah & Husband

Once your counters are seasoned initially, you’ll only need to oil about once every two to three weeks. We alternate between the mineral oil and the oil with beeswax. The beeswax just adds an extra layer of protection. Our brand of choice is Howard but just be sure that whatever oil you choose is food safe.

Generously apply the oil at night, wiping in one direction with an old, clean tshirt. Tshirts work best because they don’t leave any fuzz behind like you’d get with a rag or paper towel. Then, wipe off any excess that’s left in the morning. That’s it!

How to Care for Butcher Block | Hannah & Husband

To Clean:

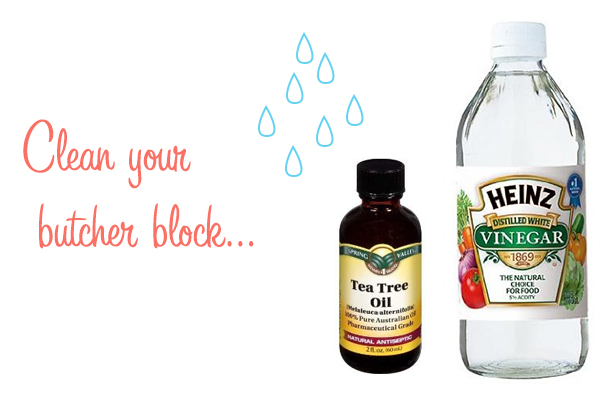
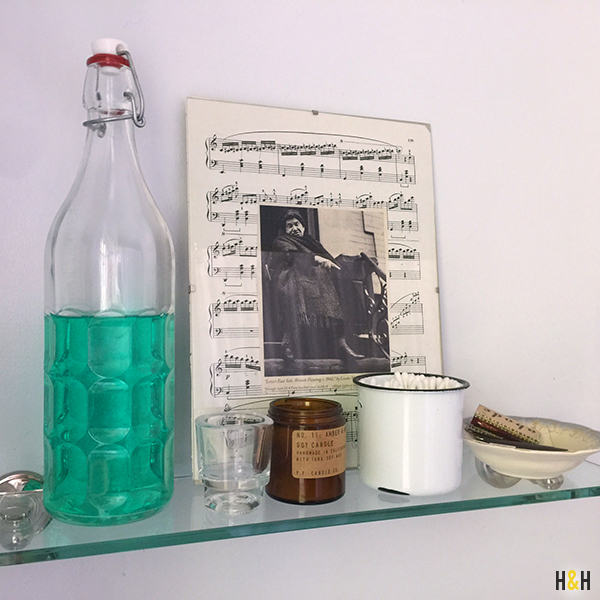
Wood has natural antimicrobial properties so most of the time, I just wipe the counter down with a damp cloth. When you really want to sterilize, I suggest filling a spray bottle with a mixture of 1 part water, 1 part distilled white vinegar, & a few drops tea tree oil. Vinegar is a cleaning agent (& the smell dissipates quickly so no worries!) and the tea tree oil is antibacterial.

How to Care for Butcher Block | Hannah & Husband

That’s it! Pretty easy, right? Over time, the wood counters will get a couple stains or dings. That’s just the nature of wood. The main thing to remember is that you never want to leave a cold beverage on your butcher block. It will leave behind a ring just like it would on any other piece of wood. But I have to tell you that I loved how much the wood warmed up the kitchen. (Click here to see the before and after pics!) And yes, I have already started doodling plans for the new kitchen! More on that to come.

3 Minute Frame

3 Minute Framing | Hannah & Husband

As you’ve seen before, we really like to put fun artwork in our bathrooms. Think about it: It’s the one room in the house, most people will visit so why not give them something to look at? (Bonus: We’ve never had anyone drop a phone in our toilet at a party. They’re too busy looking at the random art hanging on the walls!) The thing about art in the bathroom is that it’s subject to moisture and mildew. So I suggest a 3 minute frame that’s quick and fun.

3 Minute Framing | Hannah & Husband

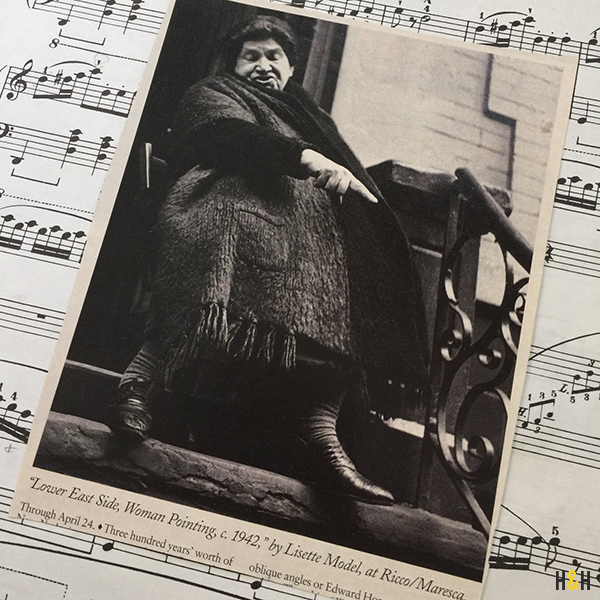
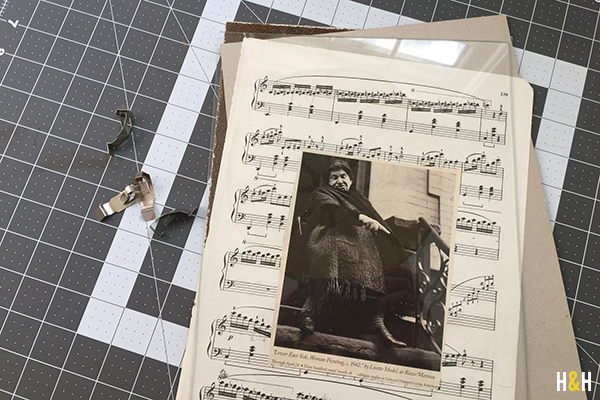
This is a lady from the Lower East Side that I cut out of a magazine years ago. There was just something about the pointing (and mocking) that I had to save. Fast forward to our current bathroom that was sorely in need of a little tongue-in-cheek, and she now hangs above the toilet where she points and laughs at everyone who visits.

You’ll need 3 things:

paper with a pattern (I collect old sheet music. When it’s no longer usable, it’s perfect for craft projects.)

a picture you’ve cut out from a magazine (remember: Nothing too precious.)

a frame with glass

DIY:

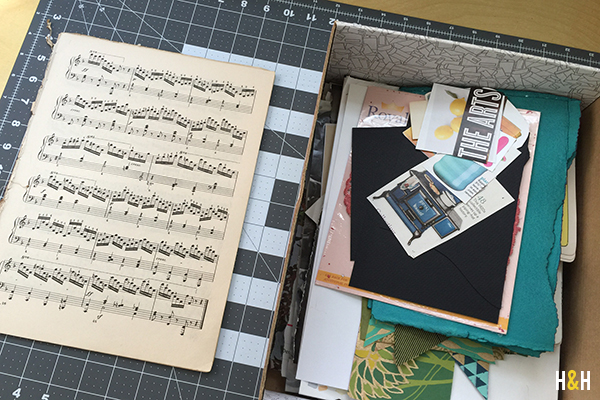
First, pull together a pattern for the background and then an image to be the focal point. If you’re hanging this in a place where moisture isn’t a factor, choose whatever you like. But if you’re making something seasonal (like this Christmas gallery wall) or a fun piece to hang in the bathroom like me, use scraps that are easy to switch out.

3 Minute Framing | Hannah & Husband

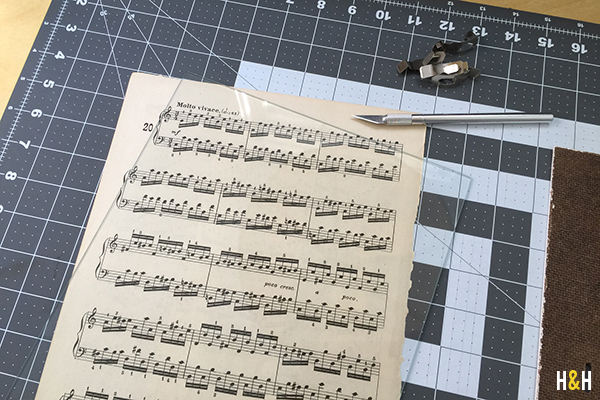
Lay the glass over your pattern and cut the paper to that size. The glass acts like a ruler!

3 Minute Framing | Hannah & Husband

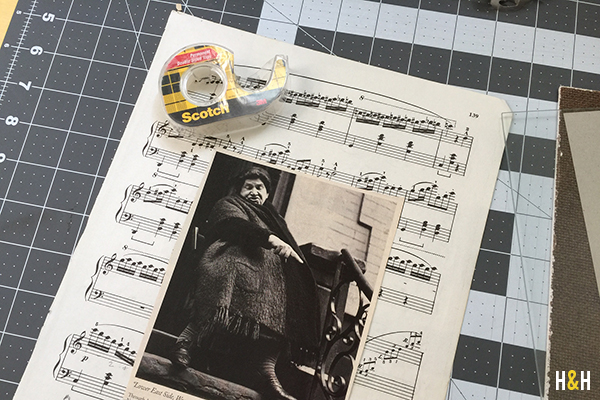
Use a piece of double-sided tape in the center of your layering image. This will keep it from sliding around under the glass.

Note: If you’re using a photo that’s more precious: use acid free tape!

3 Minute Framing | Hannah & Husband

Finally clip the frame together. That’s all there is to it!

3 Minute Framing | Hannah & Husband

3 Ways to Add Soul to a Room You Don’t Use

We all have those rooms–the ones we shut the door on and try to forget the Christmas gifts we’ll never use that are piled on the chair we meant to have reupholstered. Shudder no more my friend! It’s a new year. You can do this. Here are three ways to add soul to a room you don’t use. In no time, you’ll have guests thinking, “They just know exactly what to do with their space!”

For us, that room is an upstairs bedroom. We have the one guest room that is used for guests and the other one that is used for linen storage/books/that pile for Goodwill. Sure, we could have kids some day and this space could come in super handy, but at the moment we think of it as that one other room we have to vacuum. So one weekend we took a few easy steps to add a little soul, and now it’s known as our “sitting room” thankyouverymuch.

3 Ways to Add Soul to a Room You Don't Use | Hannah & Husband

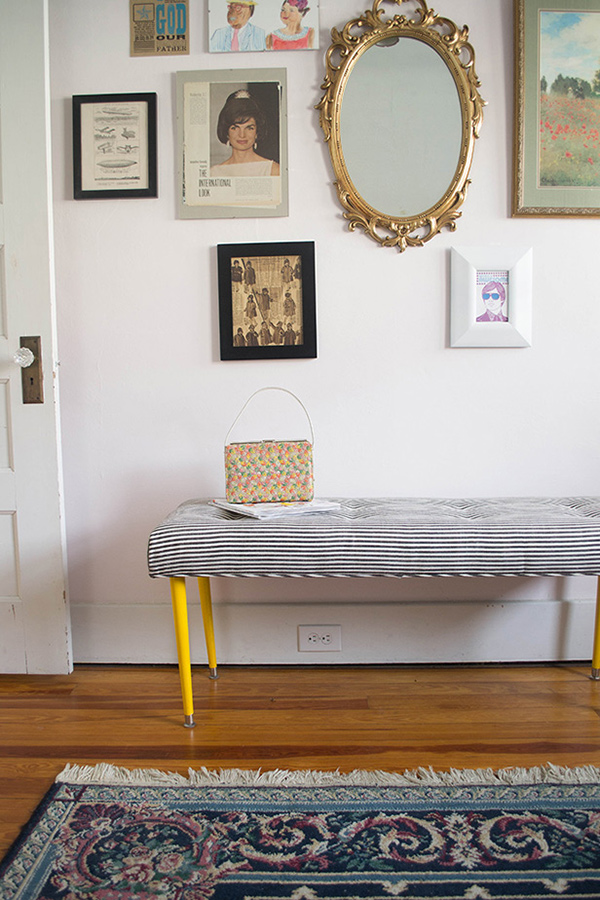
The gallery wall and rug in our “sitting room.” If you want to learn how to make the upholstered bench, click here.

3 Ways to Add Soul

Cozy things up

ie: Buy a cheap rug. You can sometimes find vintage orientals on Craigslist* or in antique malls. Another option is salvage stores. My instinct is always to look for color and pattern (hides the wine drips). But if you want a lighter look, find a white rug with some seriously soft texture.

*The one rule here is to make sure they don’t smell like smoke.

Personalize

Hang some art. Better yet, hang a lot of it. Gallery walls are a great alternative to painting walls. (Hello, renters!) When we first bought our house, I was paralyzed by the fear that I would hang something in the wrong spot. Remember, if you don’t like where you hang something, you can always move it later.

Click here for an easy way to hang a gallery wall.

Next: Books, board games, and linens. Extra rooms are a great place for storage (thus all the piles) so why not embrace that? But (pro tip) this is not the place to put your DVD collection. Think of tactile personal objects that add warmth–a shelf full of clean quilts ready to be grabbed for a spur-of-the-moment picnic perhaps!

3 Ways to Add Soul to a Room You Don't Use | Hannah & Husband

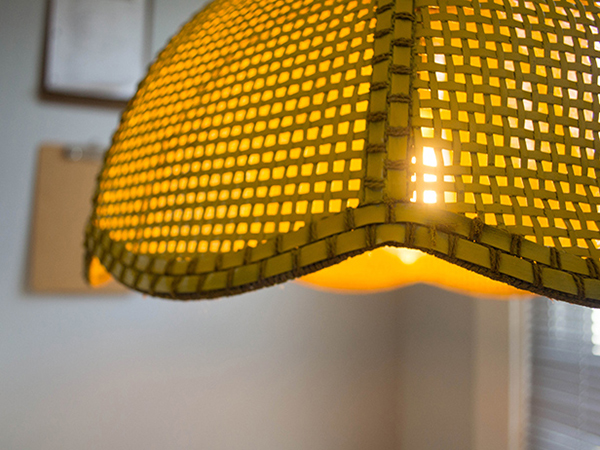
We picked this vintage hanging light up for $5 and redid it. Here’s how.

Look at Your Fixtures

Fixture: A legal concept referring to something that
is permanently attached to a property.

Think door knobs, light fixtures, outlet covers, even the hooks in the bathroom. What one fixture could you replace to make things feel a bit more you? Regardless of what you choose, this is an upgrade that makes a big impact with less than an hour of effort!

Pro Tip: Scour the vintage shops for fixtures. They always come with a bit of the story, and that’s just what you need.

Finally, a little recommended listening for your room redo. Trust me on this one…

Party Hair How-To

Today I’ve put together a little Party Hair How-To just in time for your weekend festivities. I get so many questions about how I put my hair up, and it’s really pretty simple. Just remember: Dirty hair works best and dry shampoo (which I spray on in the beginning) is really what gives it that big-hair-don’t-care look.

Let me know if you try the ‘do yourself! I’d love to see a pic.

DIY Laundry Detergent

Yes, I know you can find the recipe for DIY Laundry Detergent on any number of natural/hippie/DIY/earth mother sites. So please understand that my intention is not to be redundant. However, I couldn’t resist sharing how a few simple DIYs have so positively affected my own skin.

DIY Laundry Detergent | Hannah & Husband

I have really good skin-it’s combination, free of sun damage, and I’ve never had a lot of acne. But a few years ago, I started getting eczema on my legs. If you’ve ever had it, you know it can be a bit maddening. I thought I’d scratch myself to death, and I had huge red patches all up and down my legs. I’ve used creams from the dermatologist, lotions marked especially for eczema, and natural remedies. But what finally worked? A DIY laundry routine.

Store-bought products full of chemicals I can’t pronounce have all be replaced with simple solutions that *bonus* are a lot cheaper. And, I’m happy to report that in the last month my legs have cleared up! I’m wearing short skirts sans leggings for the first in a couple years.

DIY Laundry Detergent | Hannah & Husband

So here’s our new routine…

DIY Laundry Detergent

1 bar Fels-Naptha
2 cups washing soda
2 cups Borax

Here’s the trick: Grate your bar of Fels-Naptha while sitting in front of your favorite tv show. (Your living room will smell divine!) Then, throw the bowl of grated soap in the food processor. This will break it down so that it won’t clump when you store it. Just remember to let it settle a minute before you take off that processor lid!

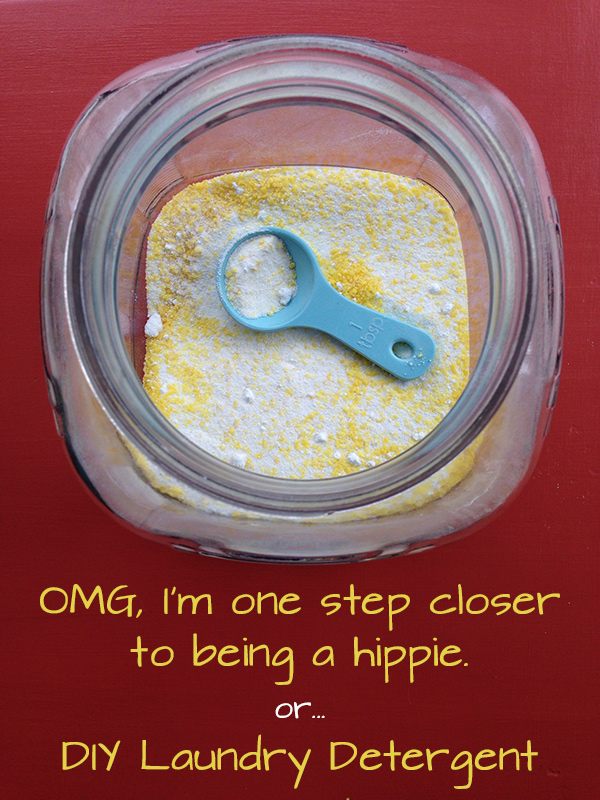
Mix all 3 ingredients together and store in an airtight container.

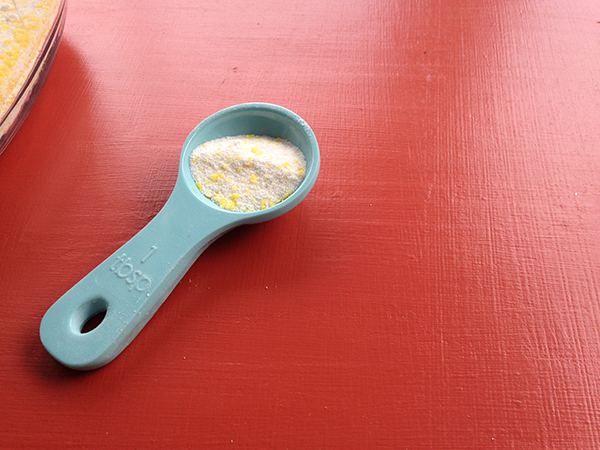
We use 2 Tablespoons per regular load and 3 Tablespoons for a load that’s super dirty.

Removing Stains

Again, there are a ton of fab products out there. Our go-to is Goop. However, we’ve also found that a bar of Fels-Naptha rubbed on the stain with a little water can work wonders!

DIY the Dryer Routine

We’ve found that a combination of dryer balls and homemade dryer sheets does the trick! I covered both of those how-tos for DIY Network’s Made + Remade… 

Click here to see the dryer ball how-to. 

Click here to watch the dryer sheet how-to YouTube. 


Jingle Bells for Your Front Door

Jingle Bells for Your Front Door | Hannah & Husband

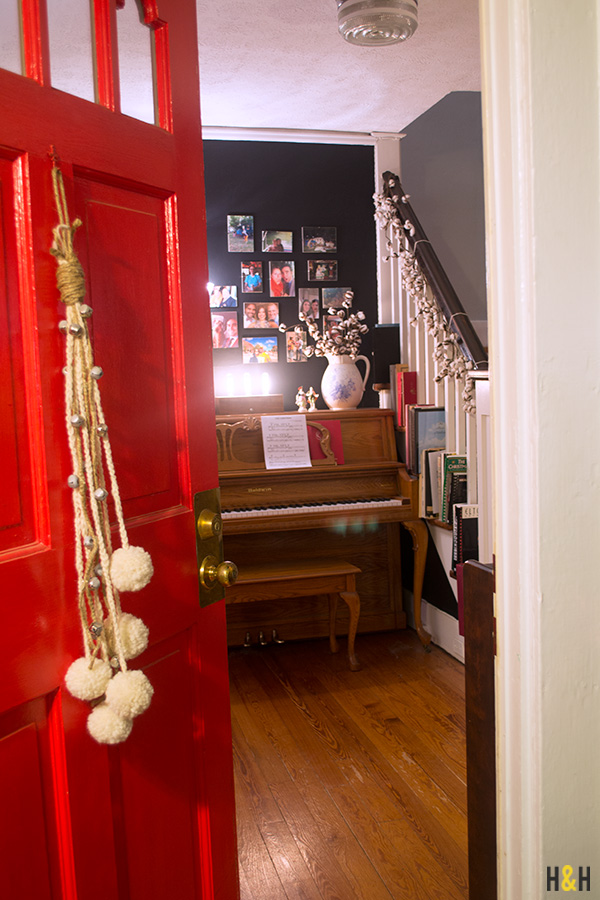
For one reason or another, I have a newfound obsession with jingle bells. I was cleaning out my studio the other day when I found a jar of full of them, and I couldn’t resist. I decided to make a little winter door decoration perfect for the flurry of guests that come & go during the season.

Here’s what I did…

Jingle Bells for Your Front Door | Hannah & Husband


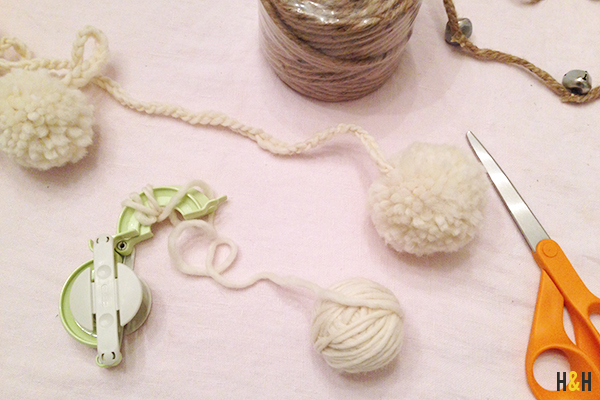
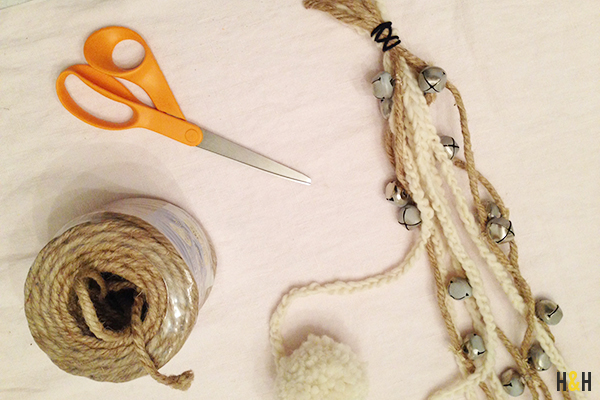
First, I crocheted five strands with a chunky cream yarn. Then, I made some fluffy pom-poms and tied them on to the ends.


Jingle Bells for Your Front Door | Hannah & Husband


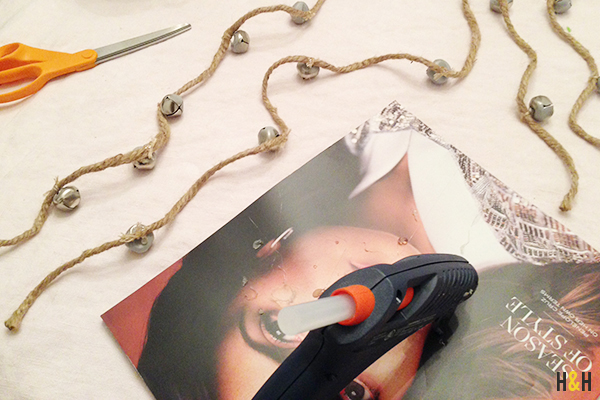
Next, I tied jingle bells onto some jute rope (also found in my studio), and reinforced the thread I used to tie them on with some hot glue. You could do this step several different ways; this just worked best for the things I had on hand.

Jingle Bells for Your Front Door | Hannah & Husband


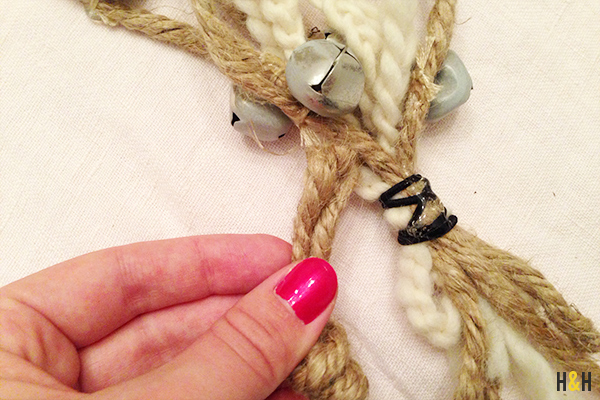
Laying out all the strands to the desired hanging lengths, I tied all the ropes together with a hair band at the top.

Jingle Bells for Your Front Door | Hannah & Husband


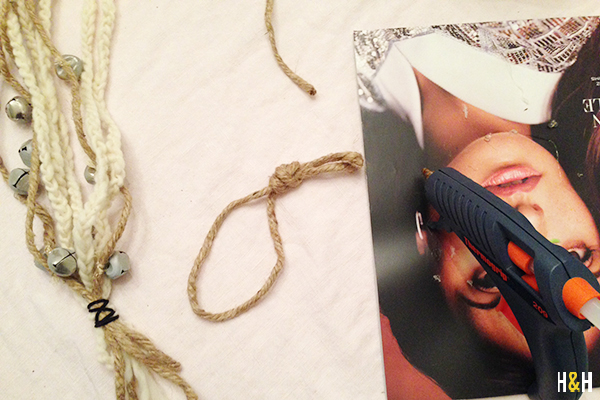
Next, I made a loop out of the jute rope for hanging.

Jingle Bells for Your Front Door | Hannah & Husband


With hot glue, I attached the base of the loop to the hair band.

Jingle Bells for Your Front Door | Hannah & Husband

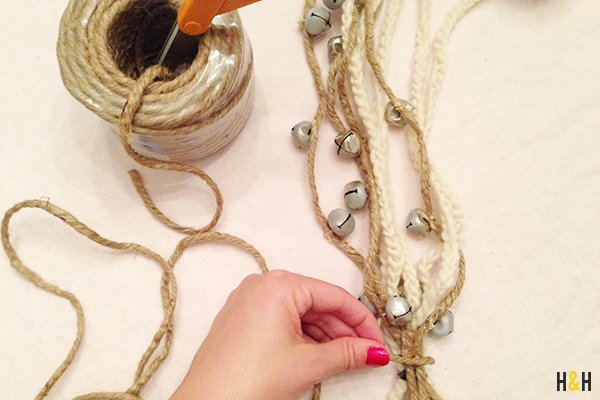
Finally, I used hot glue and repeatedly wrapped the jute rope around to secure the top.


Thanksgiving Decoration: Turkey in the Straw

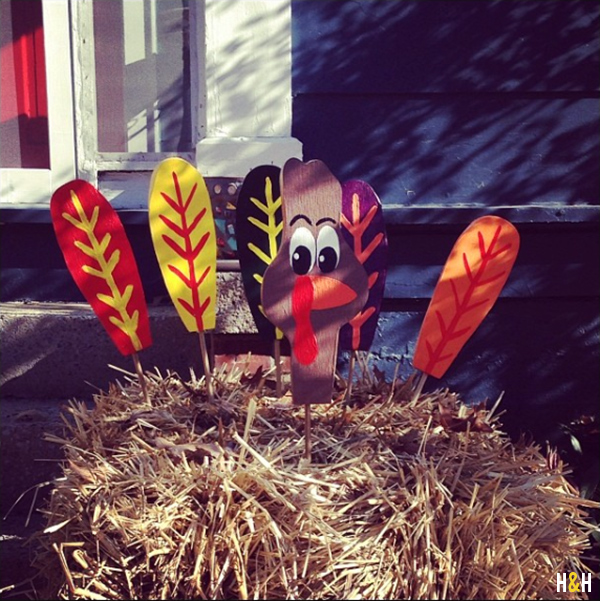
Turkey in the Straw DIY | Thanksgiving Decor by Hannah & Husband

Several years ago my mom picked up this fun little turkey. Every year she would buy an oversize pumpkin for Halloween, and then come November she would add the turkey to the pumpkin. This year as she pulled the feathers and head out of storage a couple of the dowel rods were broken, so she asked me to do a little turkey surgery. After I fixed hers I stuck them in a straw bale on our front porch. Voilà: Turkey in the Straw.

Turkey in the Straw How-To | Hannah & Husband

Click here to listen to Turkey in the Straw for a little inspiration while you work.

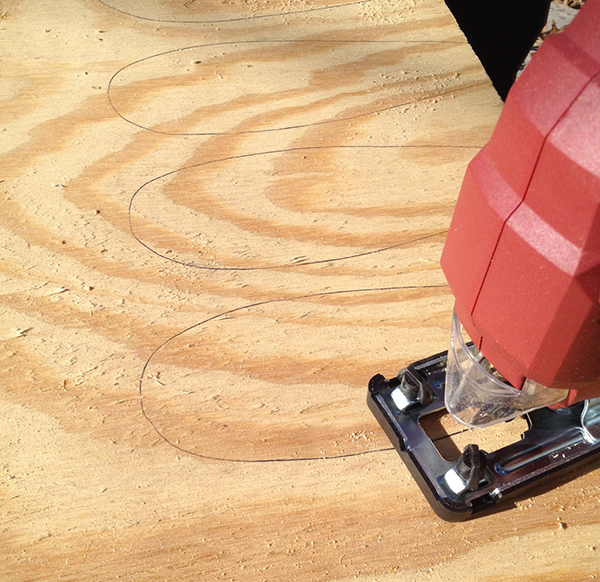
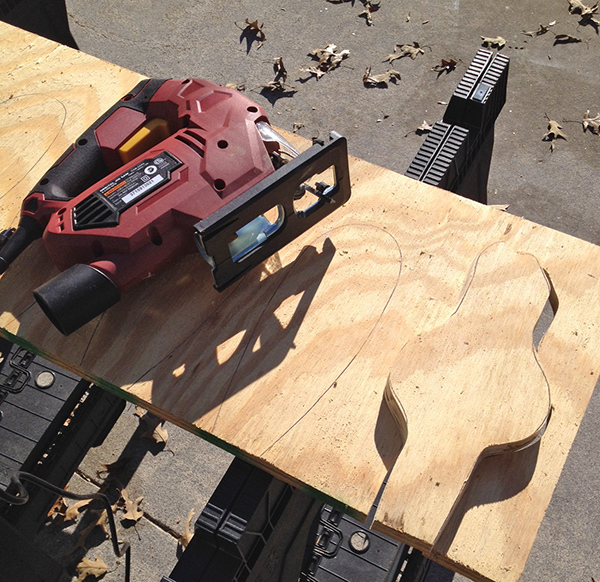
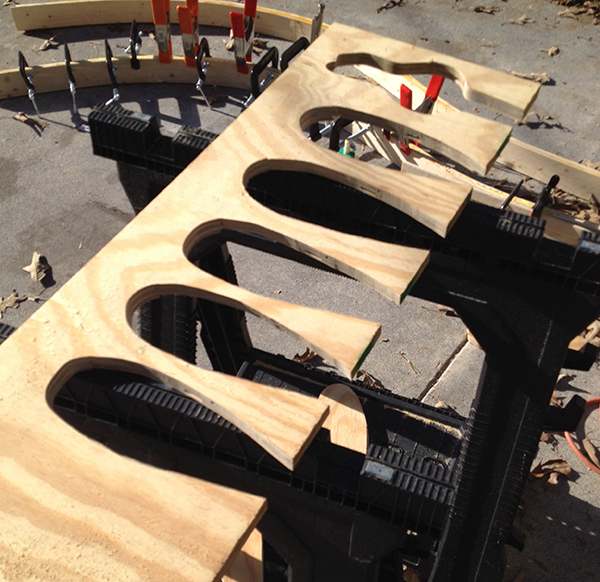
Before she came to take the turkey back, we decided it would be fun to have one of our own. We cut the shapes out of a scrap of 3/4″ plywood using a jigsaw (for a more permanent turkey use solid wood and be sure to waterproof it), and Hannah painted them to the colors of her choosing. Take a look at our process, and download the templates to create your own!

Turkey in the Straw How-To | Hannah & Husband

Turkey in the Straw How-To | Hannah & Husband

Turkey in the Straw How-To | Hannah & Husband

Looking for more Thanksgiving inspiration? Click here.

Our Home Bar: Repurposed Steamer Trunk

trunk-before

The trunk (and floor) before a major overhaul

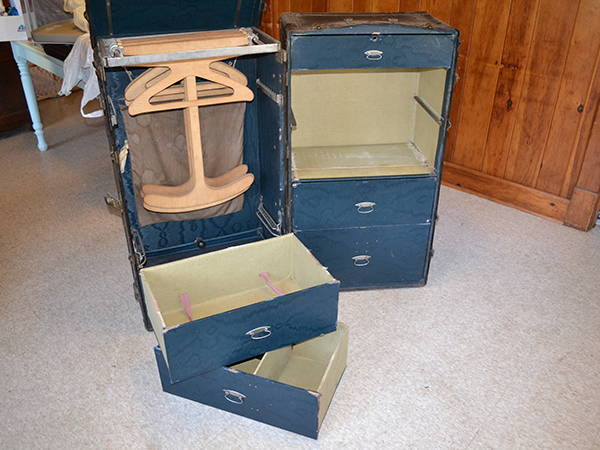
Hannah and I have always loved taking weekend drives up into the Smoky Mountains. Early in our marriage, while we were still trying to furnish our new (to us) home, we stopped at a little antique store on one of these drives. Filled primarily with the usual suspects, we did happen across one item that stood out: a vintage steamer trunk.

Joe Versus the Volcano

I’ll never let go, Jack!

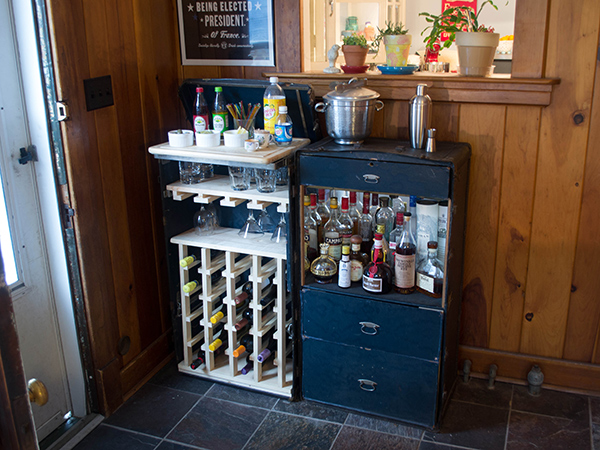
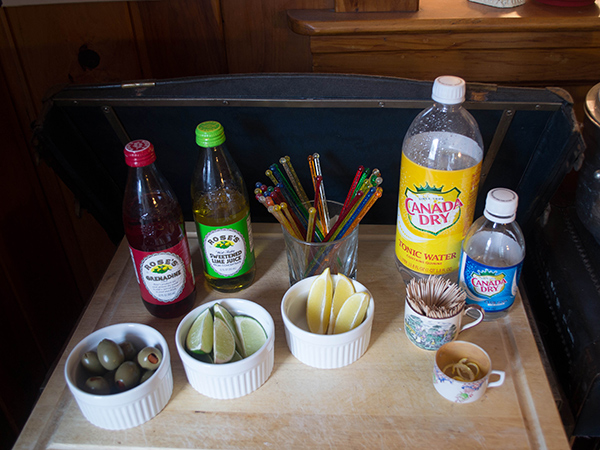
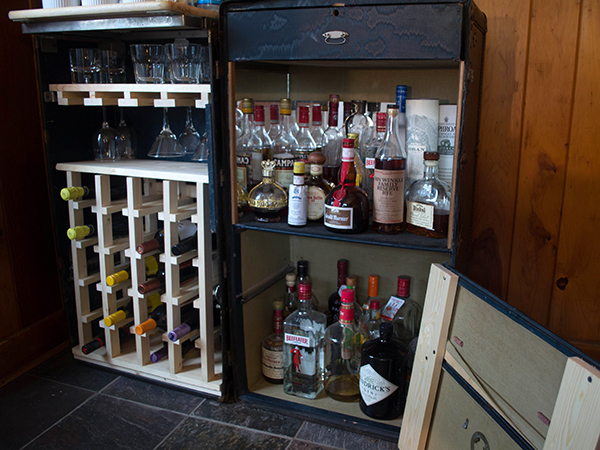
We loved the look of it, and thought it would make the perfect end table or ottoman. However after a year or so, and a steadily growing liquor cabinet, we decided to repurpose the trunk. We removed four of the drawers, keeping the top for cocktail books & napkins, and creating shelving with the rest. We kept the fronts for the bottom drawers in order to hide the less attractive (or downright embarrassing) bottles. The left side had a perfect shelf at the top for a cutting board we already had, and underneath I put together a wine and glass rack with pine and a brad nailer. We liked the look of the unfinished wood enough that we’ve kept it that way.

trunk-bar-hannahandhusband-1

The steamer trunk is a conversation piece, and utilizing it as a bar has given us a beautiful and organized way to store our wine & liquor.

Plus, when the house sitter comes over, we can close it.

trunk-bar-hannahandhusband-3

Bar + Dexter photobomb on the far right

trunk-bar-hannahandhusband-2

trunk-bar-hannahandhusband-4

On a related note, Hannah has a post on DIY’s Made + Remade today that will help you stock your own bar for the holiday season.


My Holiday Mantel on DIY’s Made + Remade

diy-maderemade-mantle

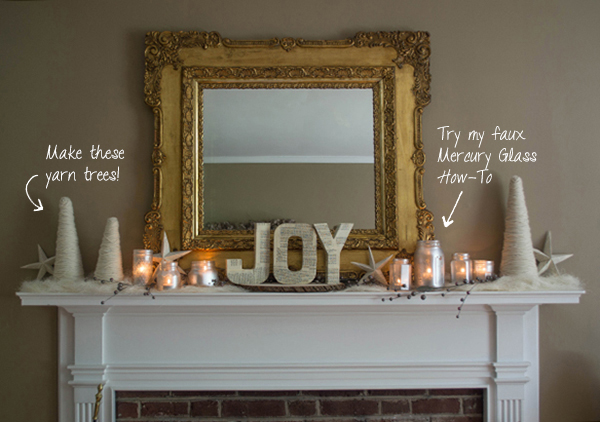
This week on DIY’s Made + Remade, we debuted our latest Blogger Challenge. Inspired by the upcoming holiday season, five bloggers partnered with JoAnn to create a holiday mantel. The one I created is a wintry white with a vintage vibe that I have to admit is a lot more more neutral (read: elegant) than my normal red & green kitschy ornaments we’ll bust out in December. Take a look at all 3 of my posts:

(Tips for Achieving my) Wintry Mantel with Vintage Style

Make Yarn Trees for Modern Winter Decor

Repurpose Old Jars into Holiday Decor

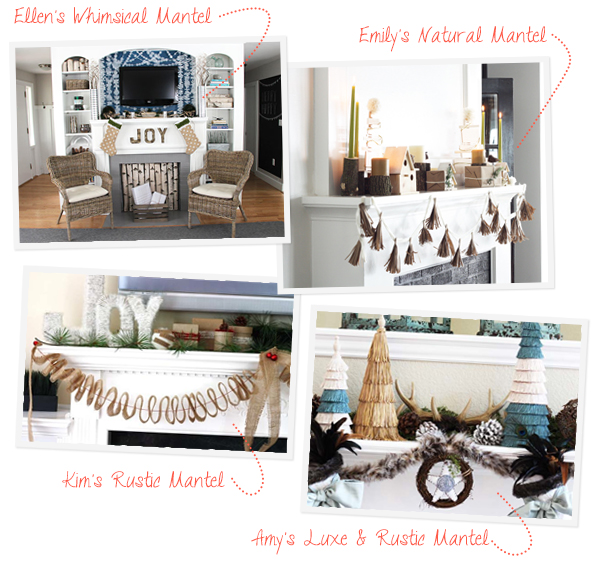
diy-blogger-challenge-mantels

Then, check out the other mantels! There are some serious Pinterest-worthy projects.

Ellen’s Whimsical Mantel With Natural and Coastal Touches
(Love her Birch Log Fireplace Screen!)

Emily’s Natural and Sophisticated Mantel

Kim’s Rustic Winter Wonderland Christmas Mantel
(Love her DIY Cabin Snow Globe!)

Amy’s Luxe and Rustic Christmas Mantel

Which one is your favorite?