Bangle Holder DIY

Bangle Holder DIY | Hannah & Husband

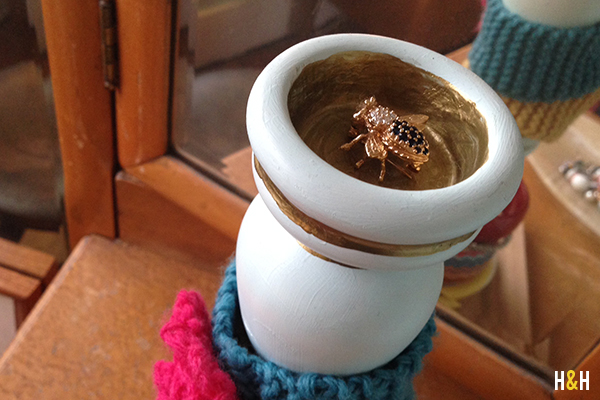
This bangle holder was a super easy DIY that totally brightened up my vanity so I thought I would share it with you! I’ve always loved the silhouette of beautiful candlestick holders. See exhibits a, b, & c.
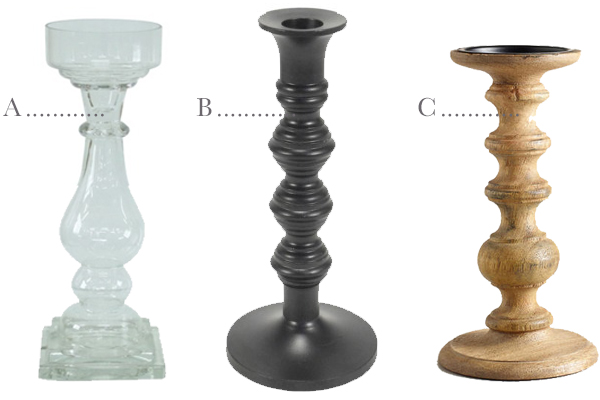
And I also happen to enjoy stalking the $1 aisle at Target. So when I scored these little ceramic candle holders, I couldn’t resist. So here we go: a super cute $2 bangle holder.

Bangle Holder DIY | Hannah & Husband

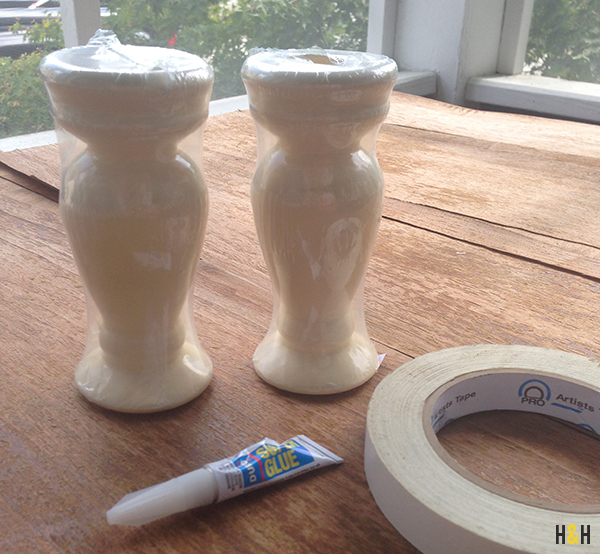
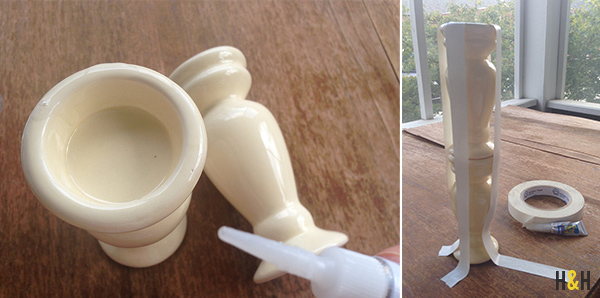
I used a little super glue to join them together. (Added masking tape to hold them in place while the glue set–super scientific as always.)

Bangle Holder DIY | Hannah & Husband

Then, I had Husband cut me a small square  for a base. Add a little paint, fill it up with bangles, and voila!

Bangle Holder DIY | Hannah & Husband


Make My New Necklace Hanger

necklace-hanger

A couple weeks ago, Husband redid my closet (because he’s the best), and I decided that if my clothes were getting a stylish new home, my jewelry should too. So I went to Lowe’s–not quite sure what I was looking for. I ended up finding these beautiful pre-cut corbels in the aisle with the banisters and trim so I nabbed ’em!

Here are the other supplies:

  • a bit of paint & a brush
  • drill
  • screw hooks
  • set of picture hangers
  • hammer

01-necklace-supplies

I also got a sample of Pantone paint and applied two coats.

02-necklace-paint

Next, I drilled holes for the hooks.

Note: Be sure that your drill bit is set short enough that it won’t go all the way through the wood. Husband helped me with this part, and I was pretty excited to conquer some serious fear of the drill.

03-necklace-drill

Next, grab the hammer. Before you attach the picture hangers to the back, be sure you’re working on a soft surface. You don’t want to scratch up your paint job.

04-necklace-hanger

Then, just screw in your screw hooks, and hang it up.

05-necklace-hooks

If you have an old house like we do, you live in constant fear of the plaster cracking.

Here’s a little tip (again thanks to Husband): Place a piece of painter’s tape over on the spot before you start hammering in your nail. Then, just pull it off before you hang things up.

06-necklace-tip

Now there’s nothing left to do but hang up your necklaces.

07-necklace-hang


The Latest Big Project or… Why I Really Like My Job

Over the past year, I’ve gotten to be a part of 3 specific projects at work that made me go, “Really? You’re going to pay me to do that? Awesome.” You can find #1 here and #2 here. (#2 just won an award that got the whole office really stoked.) While, I usually don’t talk about my day-job, this third project gives me the unique opportunity to share it with you because… I’m blogging on this crazy, cool new blog on DIYNetwork.com, and you’re seriously going to love it!

DIY Made + Remade

The cool thing about working for Scripps is that it’s a really encouraging environment for creatives. We all really like to make things. We’re curious about how things work. We find beauty in the process, we love collaborating, and we really like trading secrets. That’s what Made+Remade is all about. There are several bloggers from inside the office and several others from all over the country, but the underlying factor is that we all really love living the DIY lifestyle.

So, pardon the commercial, but if that sounds like something you’re into as well, hop on over and look around. (I’ve put a link in the right sidebar to make it easy to remember.) My first post is all about finding and caring for vintage costume jewelry, and I’ve got a couple more in the works. I’d love to know if you have any ideas for posts. Is there a question you question you want answered? Something you’d like to fix or a project you’re dying to try? Shoot me an email or comment below!

What sorts of things do you want to DIY?