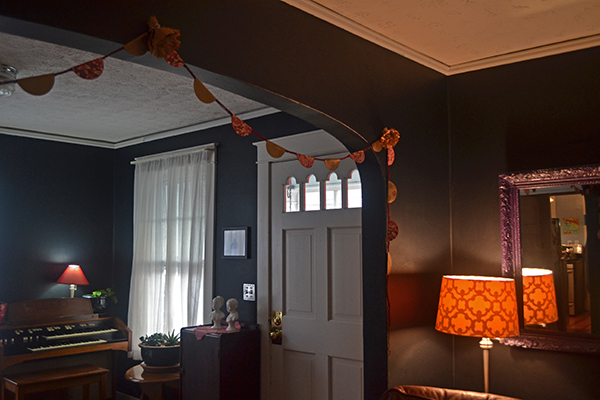
Party Photo Booth DIY

Party Photo Booth DIY | Hannah & Husband Looking for a cool way to document your New Year’s shindig? Let me suggest setting up your own photo booth. We set one up in my office for our Cocktails & Carols party, and it served as a living guest book. We captured some really fun moments, and (BONUS) it was a great alternative to people walking around with their phones all night taking selfies. Plus, it was super easy to set up! Here’s what we did. Party Photo Booth DIY | Hannah & Husband

On one wall of my office, we hung fabric and tinsel with push pins from the top of the window molding so we wouldn’t have to patch any holes in the wall. Then, we put a bench in front of that big enough for 2-3 people.
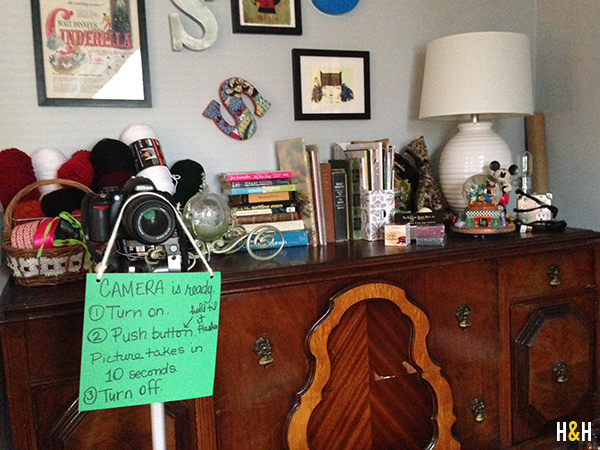
Opposite the fabric, we set up our camera on the self-timer setting with instructions hanging in front of it.
Party Photo Booth DIY | Hannah & Husband

The party was “black tie or festive,” which gave Cindy an excuse to pull out the family jewels.
Note to self: we should all find more reasons to wear tiaras.

Finally, we added a table full of props. I would say glittery things and mustaches are musts. Bonus points for fab headwear!
Party Photo Booth DIY | Hannah & Husband

Recognize these lovelies? Deanne blogs for Made + Remade, and Liz is an online editor for HGTV!

Party Photo Booth DIY | Hannah & Husband

Kayla is the cutest–always!

So now I’m on the lookout for more ideas.
How do you document your parties? Any fun ideas?


12 Days of HGTV HOME Fabric: Behind the Scenes

Behind the Scenes with HGTV HOME's 12 Days of HGTV HOME Fabric Contest | Hannah & Husband

See this necklace? Check out the how-to on DIYNetwork’s Made + Remade!

Twas the weekend of Thanksgiving when all through the house, Husband & I were getting ready for a photo shoot with HGTV HOME!

Behind the Scenes with HGTV HOME's 12 Days of HGTV HOME Fabric Contest | Hannah & Husband

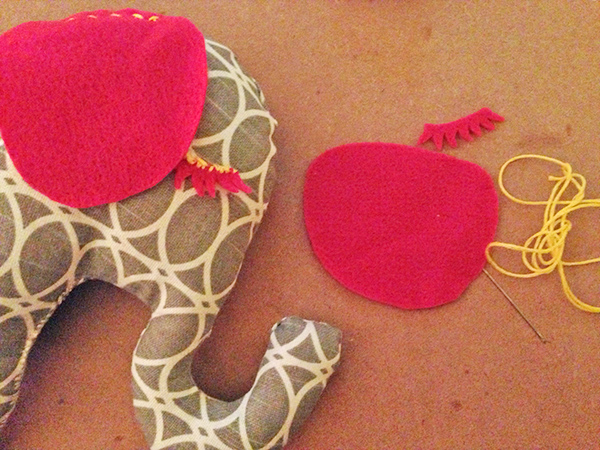
You may recall images like this little elephant blowing up my instagram. 

Behind the Scenes with HGTV HOME's 12 Days of HGTV HOME Fabric Contest | Hannah & Husband

Well she, along with several other fabric projects, are all part of the “12 Days of HGTV HOME Fabric” Contest! Here’s how to enter:

hgtv-home-12-days-fabric_facebook-tab_400x700


So you obviously can pin anything, but, to get you started, a couple of us from DIYNetwork’s Made + Remade teamed up with HGTV editors to create Pinterest-worthy projects using HGTV HOME products.

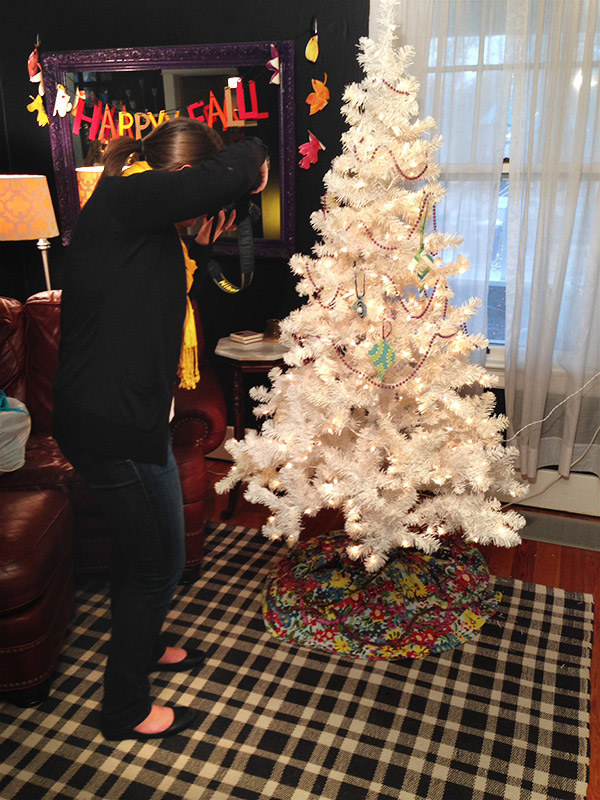
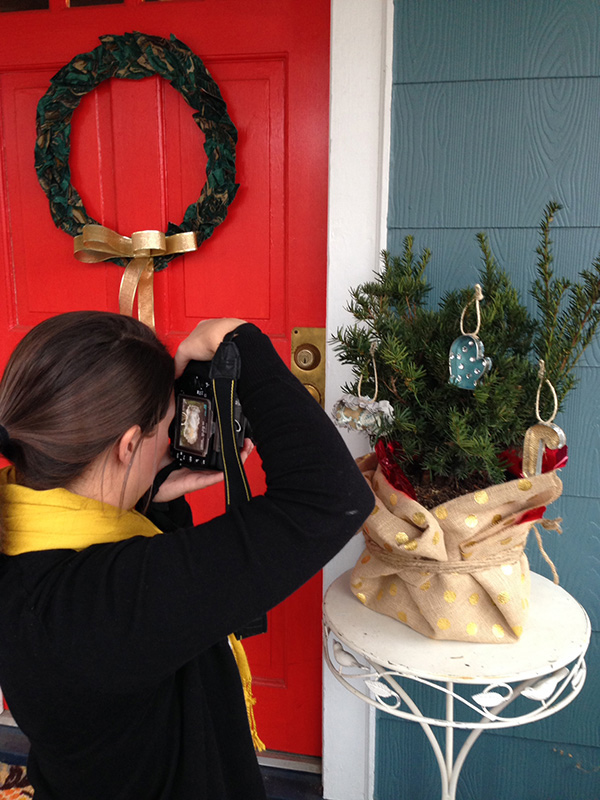
Here are some behind-the-scenes photos of the photographers at our house shooting the projects! As you can see, it was a dreary day, but you’d never know it from the final pics.

Behind the Scenes with HGTV HOME's 12 Days of HGTV HOME Fabric Contest | Hannah & Husband

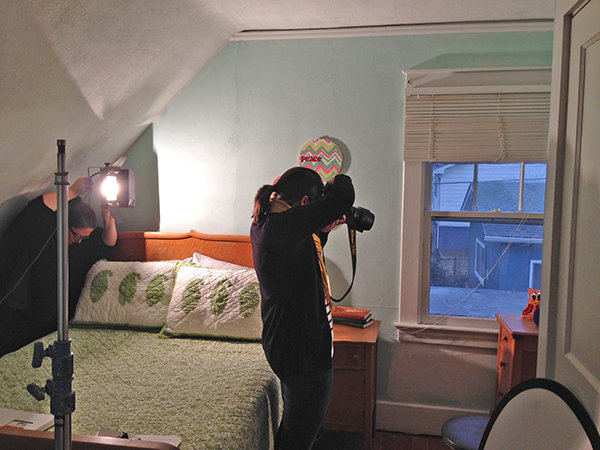
Lest you think all photo shoots are glamorous, here are Crystal & Sarah crammed in our teensy guest room.

Behind the Scenes with HGTV HOME's 12 Days of HGTV HOME Fabric Contest | Hannah & Husband

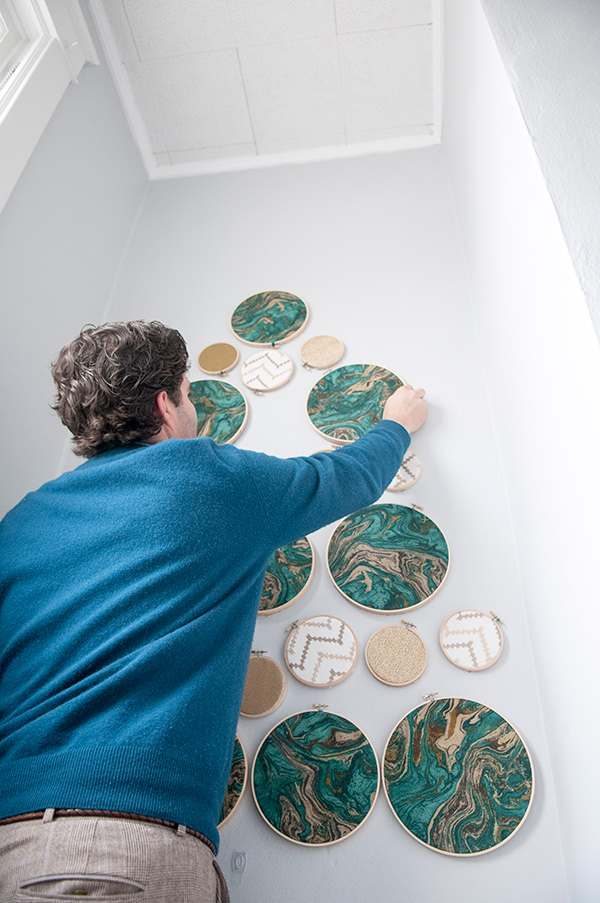
Husband hanging Marianne’s embroidery hoop tree in our stairwell.

Behind the Scenes with HGTV HOME's 12 Days of HGTV HOME Fabric Contest | Hannah & Husband

Wreath by Liz & cookie cutter ornaments by Farima. As a side note, we’ve left the little tree there and put other ornaments on it. We’ll eventually use it to make a custom hedge, but I love the little front porch christmas tree in the meantime!

Behind the Scenes with HGTV HOME's 12 Days of HGTV HOME Fabric Contest | Hannah & Husband

So go create your own “12 Days of HGTV HOME Fabric” pinterest board, and don’t forget to use the hashtag #12daysofhgtvhome! The deadline to enter is December 24th so get to pinning!

Jingle Bells for Your Front Door

Jingle Bells for Your Front Door | Hannah & Husband

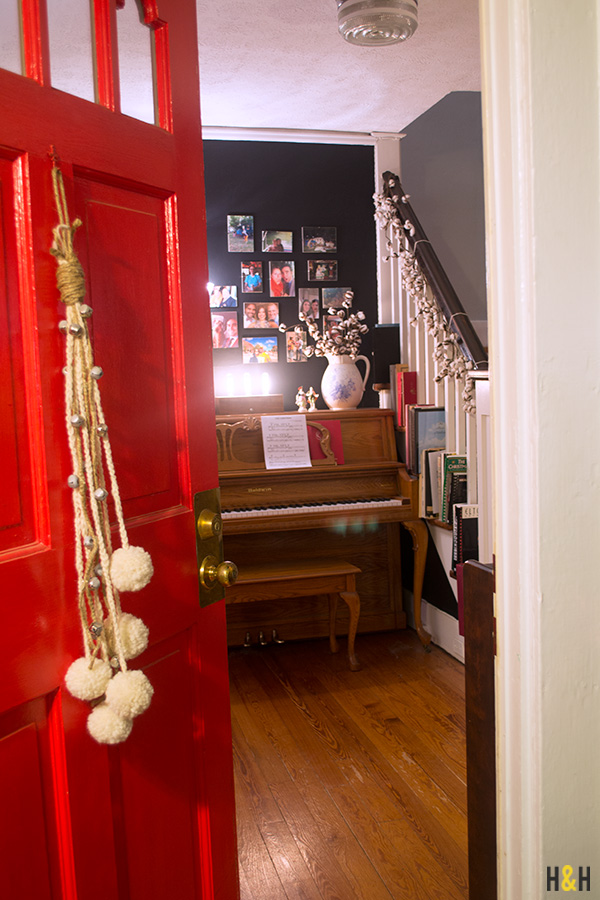
For one reason or another, I have a newfound obsession with jingle bells. I was cleaning out my studio the other day when I found a jar of full of them, and I couldn’t resist. I decided to make a little winter door decoration perfect for the flurry of guests that come & go during the season.

Here’s what I did…

Jingle Bells for Your Front Door | Hannah & Husband


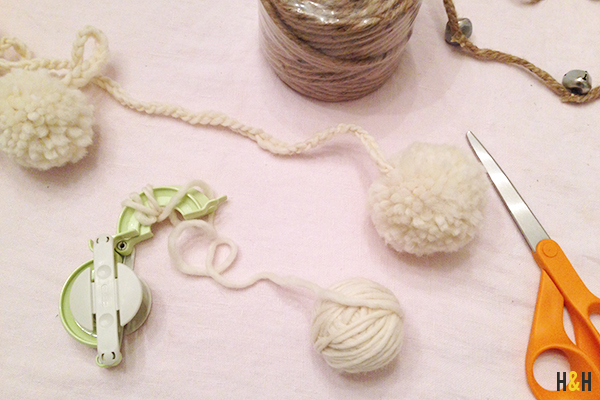
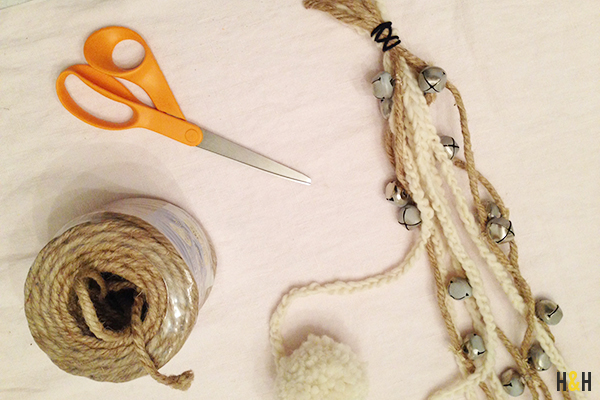
First, I crocheted five strands with a chunky cream yarn. Then, I made some fluffy pom-poms and tied them on to the ends.


Jingle Bells for Your Front Door | Hannah & Husband


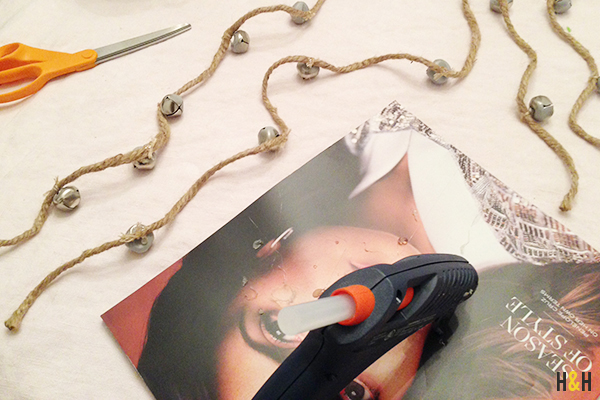
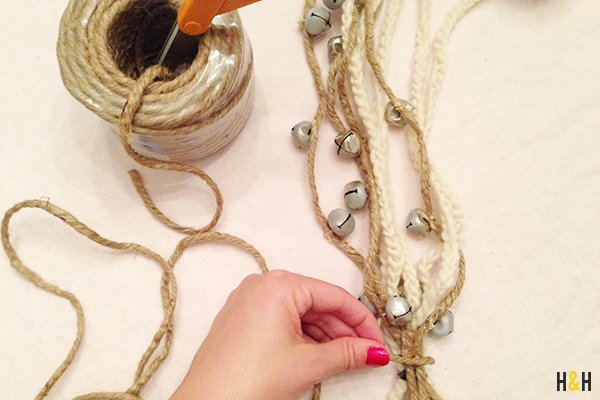
Next, I tied jingle bells onto some jute rope (also found in my studio), and reinforced the thread I used to tie them on with some hot glue. You could do this step several different ways; this just worked best for the things I had on hand.

Jingle Bells for Your Front Door | Hannah & Husband


Laying out all the strands to the desired hanging lengths, I tied all the ropes together with a hair band at the top.

Jingle Bells for Your Front Door | Hannah & Husband


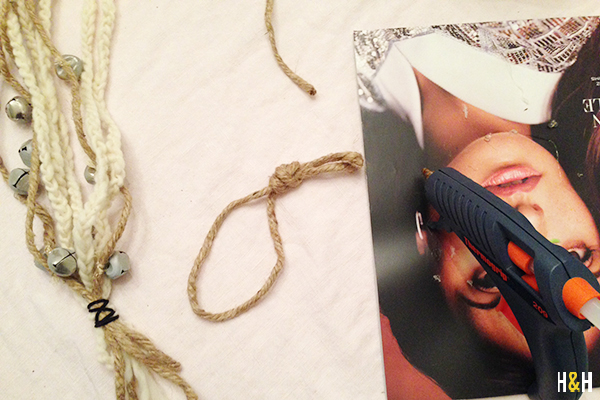
Next, I made a loop out of the jute rope for hanging.

Jingle Bells for Your Front Door | Hannah & Husband


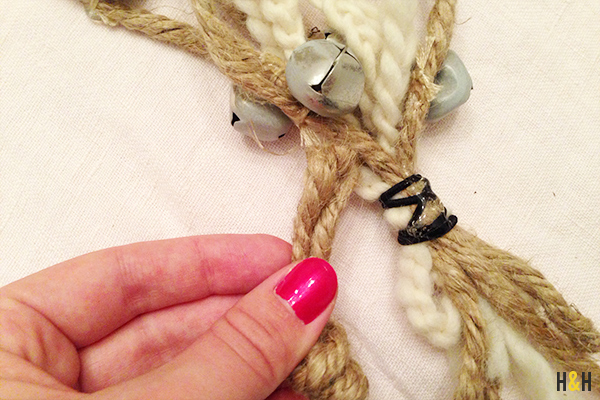
With hot glue, I attached the base of the loop to the hair band.

Jingle Bells for Your Front Door | Hannah & Husband

Finally, I used hot glue and repeatedly wrapped the jute rope around to secure the top.


The Belle Elsewhere

misteltoe-how-to

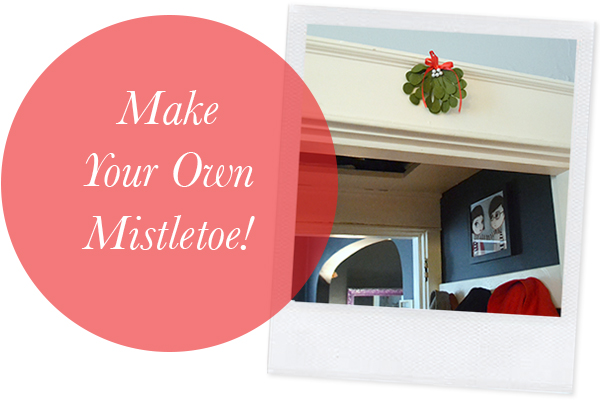
Yesterday, I got to share a little holiday How-To over on Inspire Me Grey. Click on over to see how easy it is to make this little mistletoe of your own… perfect for hanging, for wrapping gifts, or as a hostess gift!

Decking the Halls

I always *love* having our home decorated for the holidays! And, I must tell you, this Christmas is even better because I’ve had the chance to make so many of the decorations myself. So I thought I’d share a little peek inside…

christmas-decor-secretsofabelle


{ Click here to see the Christmas collage How-To. }

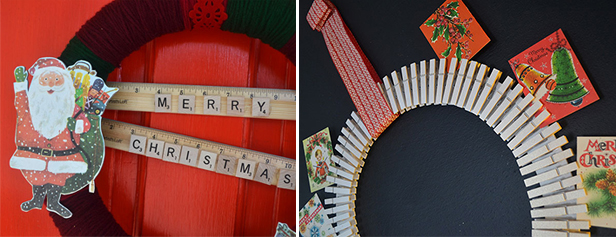
{ Click here to see my Card Wreath How-To on DIYNetwork.com. }

There are decorations all over the house, but I cannot seem to pull myself away from the living room. What about you? Do you have favorite room in your house during the holidays?

Our Christmas Gallery Wall

picture collage display close-up

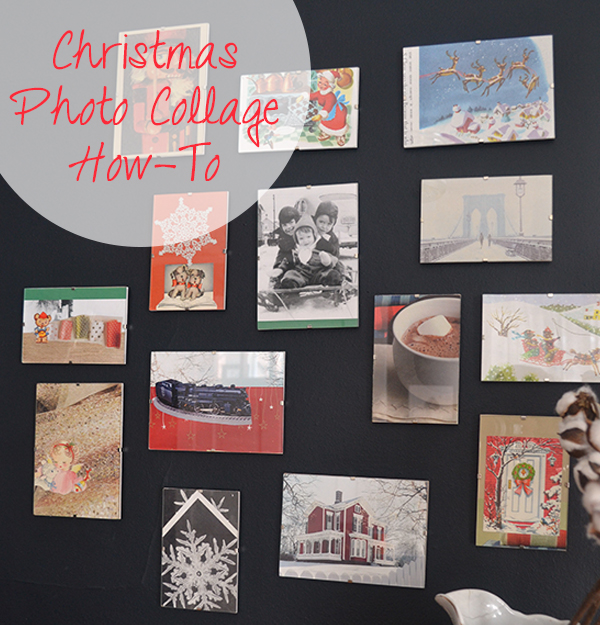
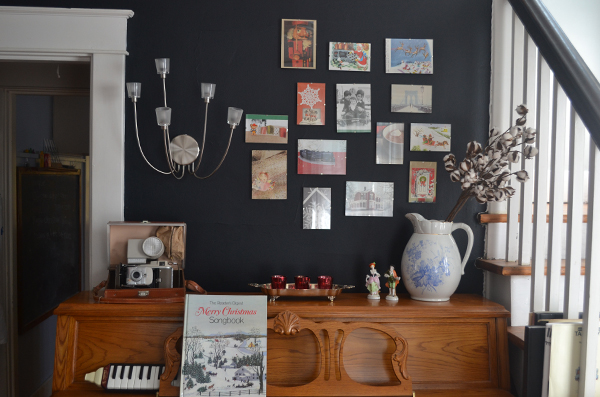
Confession: We bought our 1st house 6 years ago and, until recently, had virtually nothing hanging on the walls. I don’t know why. I love interior design, but when it comes to our own home, it’s been so much harder to get things done. I think it’s the perfectionist in me that is nervous things won’t turn out perfectly. But recently I made a goal to stop putting things off. So this weekend, I bit the bullet and put up the frames that had been sitting on my desk for over a year. I still haven’t decided just what photos to put in them (we hardly ever print any out) so in the meantime, I’ve made this Christmas gallery wall. It turned out to be a lot easier than I’d expected.

framing

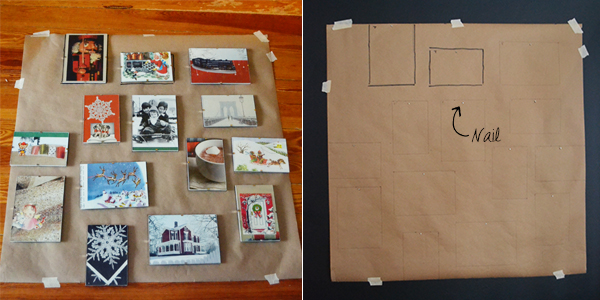
Step 1: I cut a piece of butcher paper to the size of the space where I wanted to hang the pictures.

Step 2: I laid out all the frames out in a random way and moved them around until they were just right. Then, I used a ruler to make sure things lined up correctly.

*Tip: Get 2 different sizes of frames to mix it up a bit. I had 6 5×7 frames and 8 4×6 frames. 

Step 3: I traced the frames onto the butcher paper and then made a dot 1/4 inch into the box where the nail would need to be.

Step 4: Hang the butcher paper in place with masking or painter’s tape. Then, place the nails where you put the dots. After that, you can just gently remove the paper and leave the nails behind.

scraps collage frame

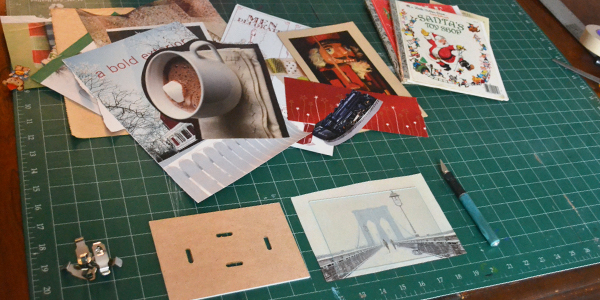
Step 5: I gathered a bunch of Christmas-y images from magazines, cards, wrapping paper, and old books. Then, I cut them to size using the glass of the frame and the XActo. I used a single image for some and for a few I made collages.

Step 6: Finally, I put the frames back together with the artwork inside and hung them on the wall.

picture collage display

What do you think? Do you ever hang seasonal artwork in your home?

Presenting: The 1st Ever How-To from Bestie Matt

This morning I am super excited to introduce you to my best friend, Matt. Not only did he decorate a cubicle junior year like a boss and sing all the words to every Disney movie made between 1987 & 1995 with me while we were in college, he also happens to be one of the craftiest people you will ever meet in real life. So, needless to say, I was super excited when he called to tell me about this How-To he’d put together for us. It is a super cute project that can translate any time of year. So without further ado, meet Bestie Matt…

Fewer things go together like southern belles and mason jars. But southern belles and mason jars *covered in glitter* would be a match made in the Heaven all southern belle’s hair strives to reach. When I was brainstorming for an idea, I thought, “What is more southern than a mason jar?” The next question was, “How do I ensure my front door doesn’t look like a recycling bin?” Welcome glitter to the situation.

What You’ll Need:
Jar Lids

Glitter
Glue
Drill or Metal Punch
Office Brad
Hot Glue Gun
Ribbon
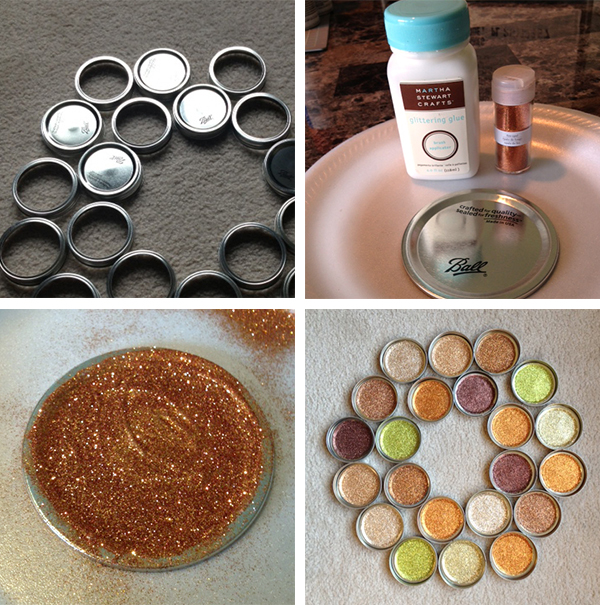
The first step was to lay out how I wanted the wreath to look. This should be a close approximation. I ended up using a few less lids than I originally thought as I began connecting the lids together.

Next, select the colors of glitter that you want to use. I chose colors of fall. I glittered a few of each color.

Next, I laid out the colors in a pattern that I liked. Once you lay them out, mark each one with a black dot where the connection point between the lids will be.
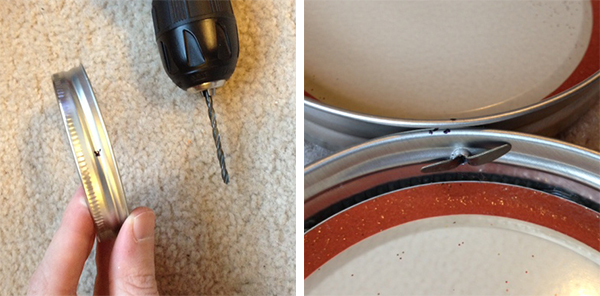
Either using a drill or a metal punch, make a hole in the lid where the connection will be made. After the hole is created, place the insert back into the rim of the lid. I used a dab of hot glue to hold it together.

Using an office brad, connect the two together. To ensure a tight connection, put some hot glue on the open end of the brad. The more connections you make, the more sturdy the wreath will be.

The last touch is to add a bow to the front and you have a festive and southern touch to your decor!

DIY’s Great Wreath Rivalry

Alright readers, it’s competition time! Recently, I had the unique opportunity of doing a couple How-To’s for DIYNetwork.com’s Great Wreath Rivalry. Now, by simply *pinning* one of the 12 How-To’s on the site, you can be entered to win COLD HARD CASH.

Click Here to Start Pinning Wreaths. 

If you just want to see my How-To’s:

(This one is not part of the comp but still super cute.)

Click here to see how to make my wreath with vintage children’s book illustrations.

and then…

(This one you should pin… lots.)

Click here to get the super simple instructions for this card display wreath.

An Easy Garland How-To

As I mentioned on Friday, every house should have a handmade garland this time of year when we are all forced to spend a bit more time indoors. It just makes walking in the door on those chilly, dreary days a bit more festive. So I thought I would share the one that I made for our home this week. It’s hanging in our living room and, I must admit, I want one there all the time now.

What You’ll Need…
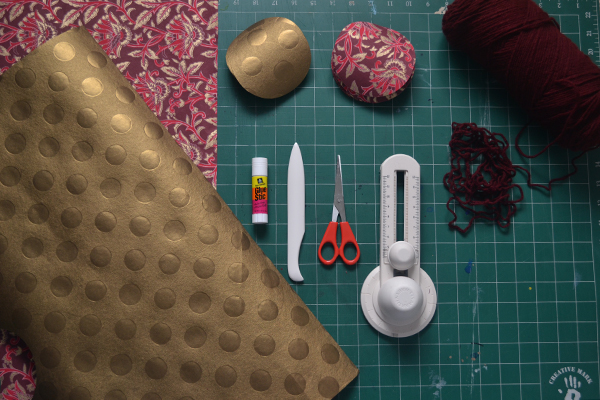
– I am 100% obsessed with my Martha Stewart circle cutter and love finding any excuse to use it. (However, scissors with a traced, round object would also work but may take a little longer.)
– Scissors
– Bone Folder
– Decorative Paper or Wrapping Paper
– Glue Stick
– Yarn

1.) Measure the space where you’d like to hang the garland and cut a length of yarn accordingly.

2.) Cut out circles. I used 4 inch circles and cut out about 40. I ended up having some extra, but I’m the type that would always rather have too many rather than going back to cut out more.

folding circles

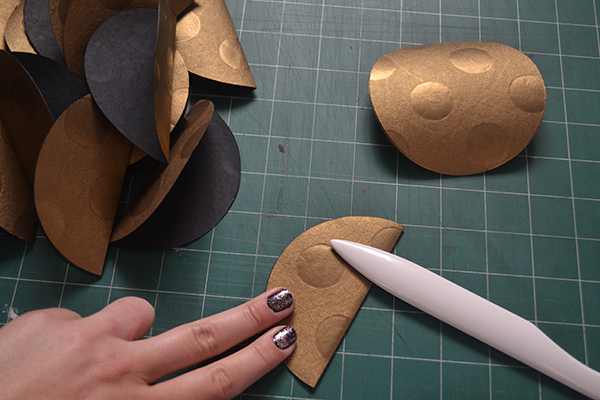
3.) Fold your circles in half, and use a bone folder to make a smooth crease.

Add glue and yarn in crease

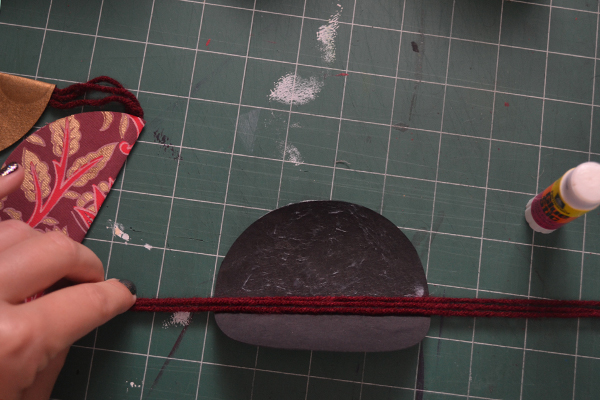
4.) Put glue on one half of the circle and lay your yarn right in the crease.

fold paper over yarn and itself

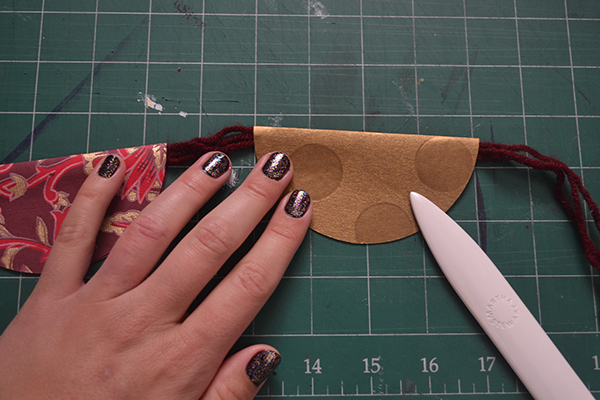
5.) Fold the circle over the yarn on to itself. Use a bone folder to smooth out any wrinkles.

hanging garland, flower

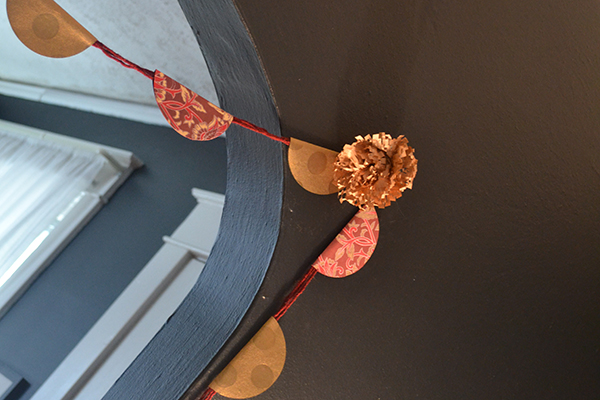
6.) When the garland is done, you may want to make something that will cover the place where you attach the garland to the wall. In this case, I made a few flowers out of that craft paper with slits that many places use as a shipping material now.

Hang and voila!