I consider myself very blessed. I have always loved to cook. My very first memory is of learning to dredge chicken for frying while standing on a chair at my Nanny’s house. Before I was 5, I would put on little cooking shows from the organ bench for an audience of stuffed animals. (Yes, there are videotapes to prove it.) I remember dishtowel aprons in my Aunt Vangie’s giant kitchen around the holidays, watching my grandfather bake bread every weekend, and watching my WooWoo, for hours on end, cook for a houseful of people–completely mesmerized by the authority she seemed to possess over the ingredients. It felt like she could take nothing and somehow manage to feed 40 people at the drop of a hat. (A skill I firmly believe every belle should possess, but we’ll talk about that at a later date.)
I’ve always liked to think that there’s something special about how we approach food in the South. For Southerners, cooking is often a spiritual thing; there is love and passion and history tied into our recipes. However, as I’ve traveled more, I’ve realized that this is true of many cultures and really not at all specific to my own region. Another thing that’s become very apparent is that not everyone is lucky enough to experience ‘being in the kitchen’ like me. Not all children are taught to cook and many come from families that rely on their microwaves and drive-thrus. But I would like to think that there’s something that can be done about this.
Cooking is an invaluable skill. When you cook, you are very aware of where you food comes from and exactly what you’re putting into your bodies and feeding your loved ones. (For a really great read on the science/nutrition part of this, might I suggest Food Rules.) But there’s something more than that: Recipes carry histories. They carry stories along with them and pick up little anecdotes along the way. My college thesis was actually on this very topic, and it has been on my mind again a lot lately.
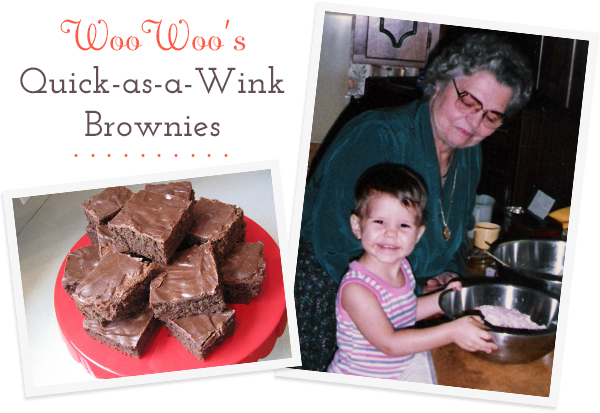
I know I’m an old soul, but I really do believe in the power of the past to influence and connect us to the here & now. So, with that said, I wanted to start a new series here on the blog of recipes & the stories that go with them. The first recipe I’d like to share with you is actually the very first recipe I ever cooked by myself when I was 6 or 7 years old: WooWoo’s Quick-as-a-Wink Brownies.* I remember that I couldn’t wait to call and tell WooWoo what I’d made… with my father’s supervision to turn the oven on & off, of course! This recipe was a favorite around the Green house because even the most finicky of palates likes brownies, and the recipe is so easy to double. It is also a very easy baking project for beginners so I hope you’ll try it!
Ingredients for the Brownies:
1 C (2 sticks) soft margarine or soft salted butter
2 C sugar
2 tsp vanilla
6 eggs (beaten)
– – – – – – – – – – – –
1 C flour
1 tsp baking powder
1/2 tsp salt
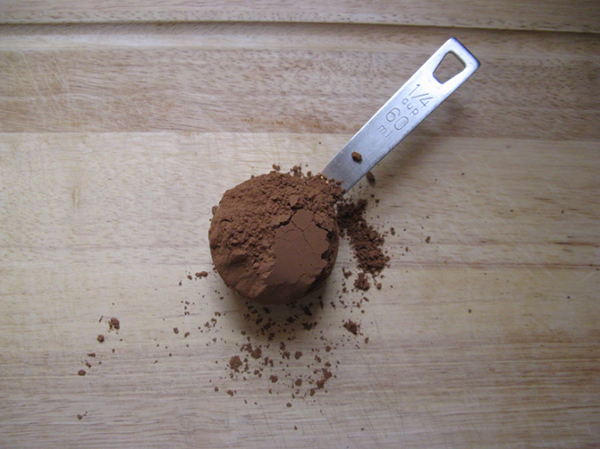
3/4 C cocoa
1 C chopped walnuts or pecans (Husband doesn’t eat nuts so I use this as one of the toppings!)
Ingredients for the Icing:
1 C confectioners’ sugar
2 Tbsp. cream
1 Tbsp. cocoa
1 Tbsp. butter
Preheat your oven to 350°F.
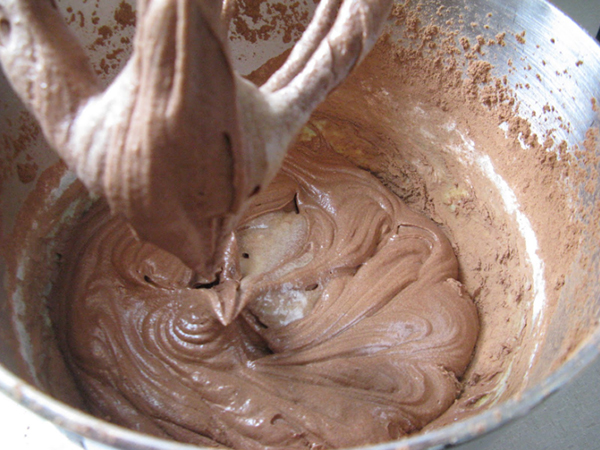
1.) Combine the first 4 ingredients one at a time, beating after each entry. I do this part in my KitchenAid, but a hand mixer works just as well.
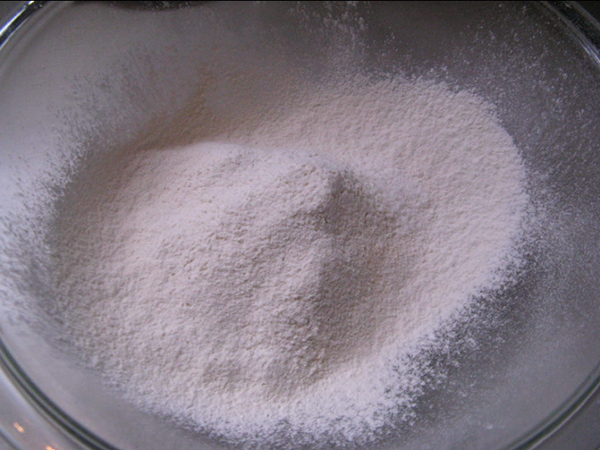
2.) In a separate bowl, sift together the next 4 ingredients (aka the dry ingredients).
3.) Add you dry ingredients a little bit at a time to your wet until just mixed.
4.) Fold in the nuts.
5.) Grease a baking dish. (WooWoo used a 15″x10″ but I use a 9″x13″ aluminum pan) Pour in your mixture, then lift it about 1/2in. above the counter and drop it a couple of time to get rid of any air bubbles.
6.) Bake for 20-25 minutes or until an inserted skewer comes out clean. Then, allow to cool.
Now for the Icing…
1.) Combine ingredients in a heavy-bottomed saucepan and bring to a boil.
2.) Spread over brownies. Let set and then cut into squares. Serve with icecream, whipped cream, & nuts!
Tips & Tricks:
Baking powder should be light, fluffy, & seem nearly weightless. A sure sign to know if you’re baking powder is bad is if it is difficult to get a spoonful. A good rule of thumb is to write the date right on your can and replace the powder once a year.
My cousin Tas prefers a denser brownie so he only uses 1/2tsp baking powder, and the darkest cocoa he can find.
My grandmother *loved* the icing and always doubled the recipe. I, however, hardly ever eat icing and have actually left it off entirely on several occasions… it’s good either way!
*Originally, this recipe came from a newspaper clipping my aunt sent WooWoo from New York so it is worth noting that this recipe has been passed down in our family; even if we weren’t the first to come up with it.