DIY’s Great Wreath Rivalry

Alright readers, it’s competition time! Recently, I had the unique opportunity of doing a couple How-To’s for DIYNetwork.com’s Great Wreath Rivalry. Now, by simply *pinning* one of the 12 How-To’s on the site, you can be entered to win COLD HARD CASH.

Click Here to Start Pinning Wreaths. 

If you just want to see my How-To’s:

(This one is not part of the comp but still super cute.)

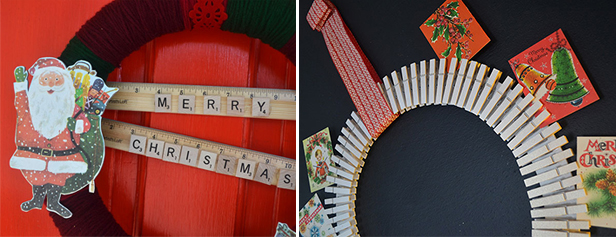
Click here to see how to make my wreath with vintage children’s book illustrations.

and then…

(This one you should pin… lots.)

Click here to get the super simple instructions for this card display wreath.

An Easy Garland How-To

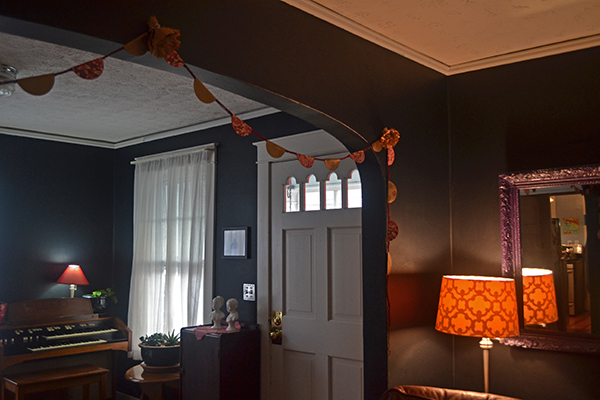
As I mentioned on Friday, every house should have a handmade garland this time of year when we are all forced to spend a bit more time indoors. It just makes walking in the door on those chilly, dreary days a bit more festive. So I thought I would share the one that I made for our home this week. It’s hanging in our living room and, I must admit, I want one there all the time now.
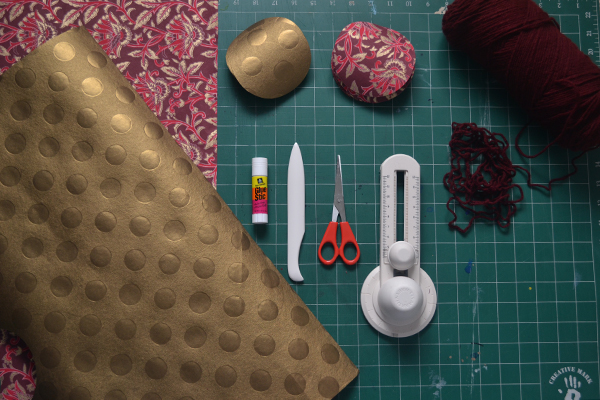
What You’ll Need…
– I am 100% obsessed with my Martha Stewart circle cutter and love finding any excuse to use it. (However, scissors with a traced, round object would also work but may take a little longer.)
– Scissors
– Bone Folder
– Decorative Paper or Wrapping Paper
– Glue Stick
– Yarn

1.) Measure the space where you’d like to hang the garland and cut a length of yarn accordingly.

2.) Cut out circles. I used 4 inch circles and cut out about 40. I ended up having some extra, but I’m the type that would always rather have too many rather than going back to cut out more.
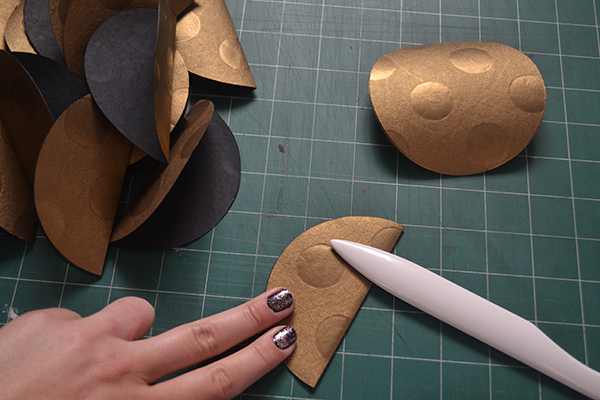
folding circles

3.) Fold your circles in half, and use a bone folder to make a smooth crease.
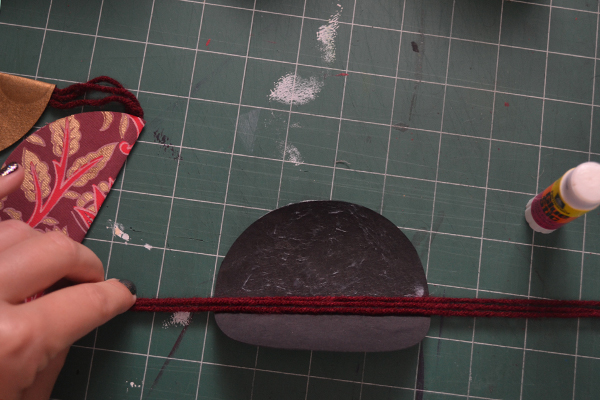
Add glue and yarn in crease

4.) Put glue on one half of the circle and lay your yarn right in the crease.
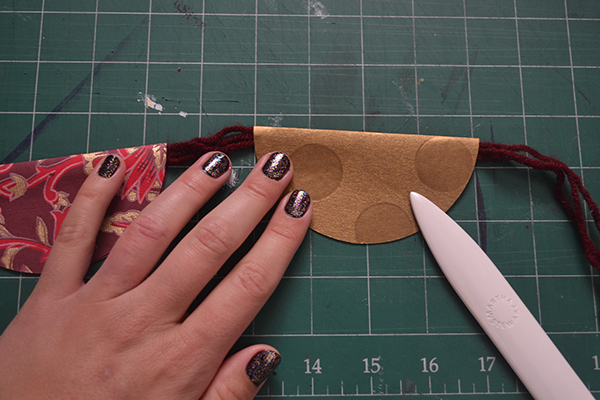
fold paper over yarn and itself

5.) Fold the circle over the yarn on to itself. Use a bone folder to smooth out any wrinkles.
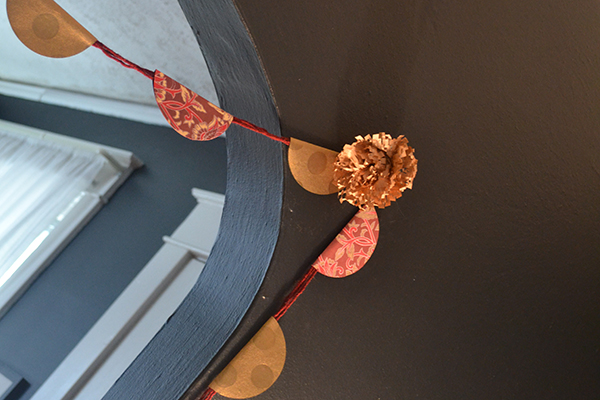
hanging garland, flower

6.) When the garland is done, you may want to make something that will cover the place where you attach the garland to the wall. In this case, I made a few flowers out of that craft paper with slits that many places use as a shipping material now.

Hang and voila!


Make Something Pretty with Empty Tea Tins

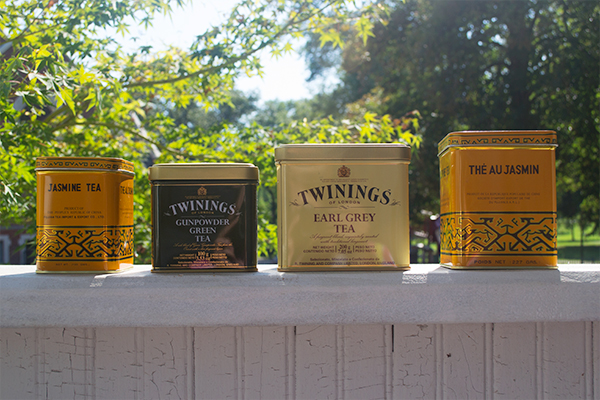
tea tins before

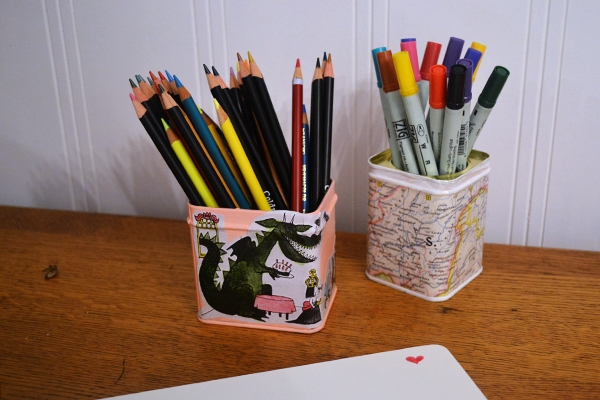
In my circle of friends, I have always been known as that girl that never throws anything away. Case in point, a good friend recently brought over these tea tins. “I hated for them to go to waste,” he said, “and I knew you’d make something out of them.” Well, they sat in my studio for a while, until one day when I just really had the itch to make something but didn’t have any particular thing in mind. Here’s what I came up with…

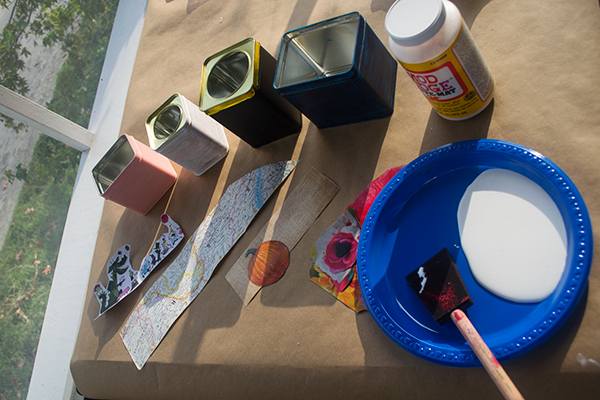
tea tins, mod podge, paper clippings

1.) First, I applied a layer of acrylic white paint to each tin as a primer. Then, I painted them whatever color I wanted.

2.) I gathered scraps… Right to left you’ll see: a photocopy of a black & white children’s book illustration that painted with watercolors, part of a map cut to fit the tin, and magazine clippings.

3.) Finally, I got out the matte Mod Podge. Apply this in a thin layer with a foam brush to the paper and place the paper on the tin. Allow this to dry completely before adding one more layer on top to seal it.

Display desk accessories.

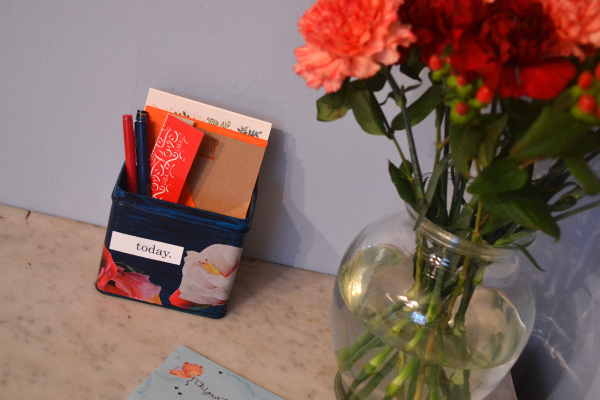
Keep stationery and stamps beside the door for quick note writing.

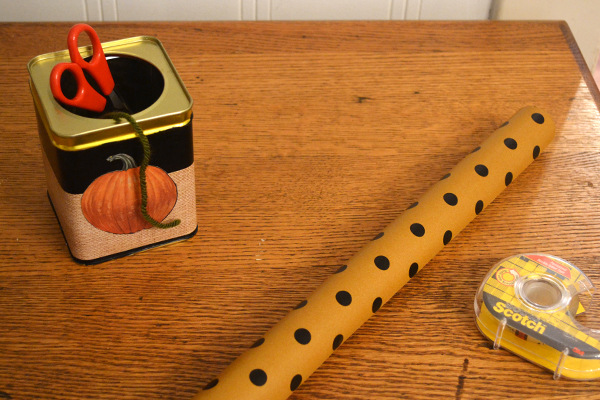
This round lip was perfect to put a ball of yarn in for easier gift-wrapping.


Hannah B.’s Cure for Humdrum and Ho-Hum

This summer, I spent a lot of time relieving stress by crafting.

2 Things Happened:
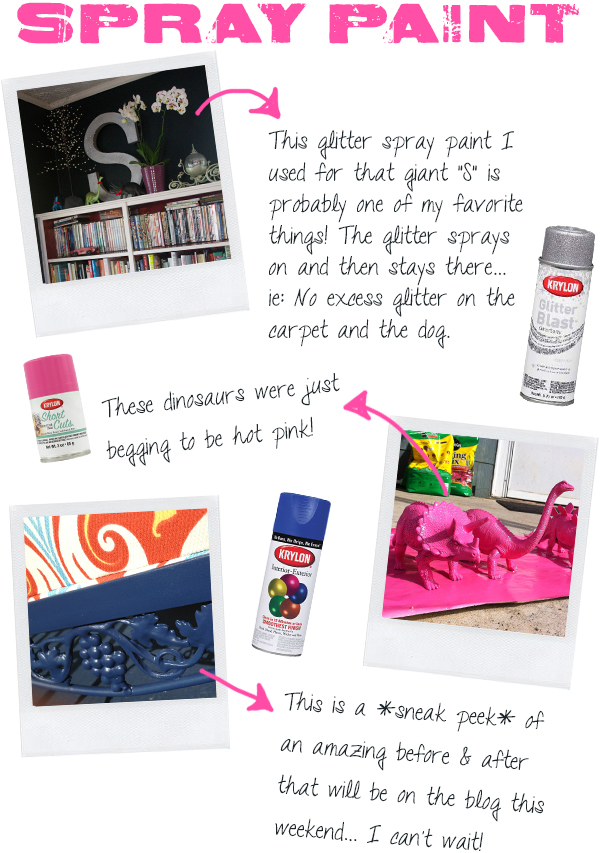
1.) I fell head over heels in love with spray paint.
2.) I became quite a connoisseur of the stuff. (Krylon is my favorite brand at the moment.)


A few of my favorite projects.


Spray painting is magical. It can transform anything in just a matter of minutes. Plus, Krylon’s Glitter Blast is the perfect way to get around the Glitter Ban that has been on our house since last Fall’s Pumpkin Glittering Incident.

So now I’m looking for a little inspiration. Have you done a really great project with spray paint lately? Or have you seen one on Pinterest or around the blogosphere that you’d like to try? Leave a comment below and let me know what it is!