In the eight years since we moved into our home, we’ve discovered a few things about how we use our kitchen that changed the way we laid things out when we renovated. So today I thought I’d share a few kitchen storage ideas.
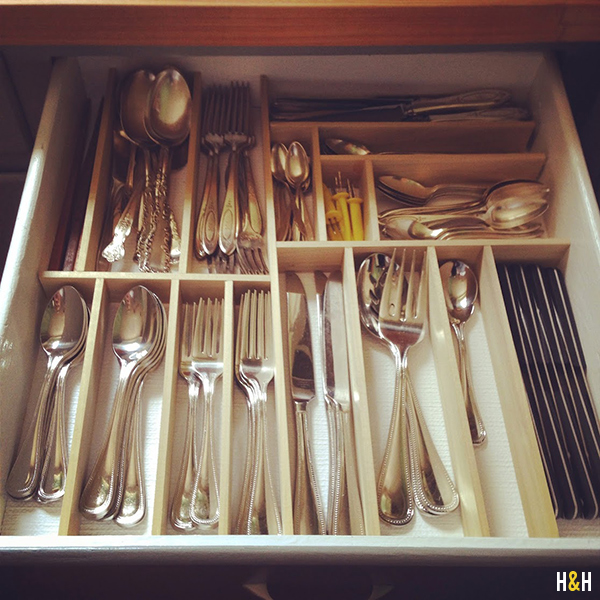
1. A place for everything, and everything in its place.
If your momma was anything like mine, this is something you’ve heard your whole life. Nowhere is it more important than in the kitchen! We were ruthless in cleaning out old utensils and pans that we never use. (Disclaimer: We still have more than we need. Don’t be all judge-y. When you come to a party and eat off adorable china rather than paper plates, you’ll appreciate my obsession with all things “kitchen.”)
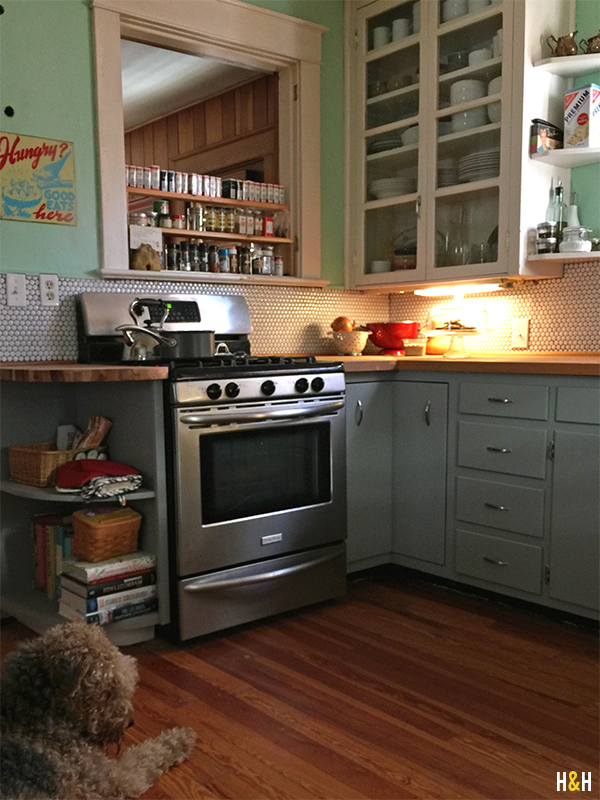
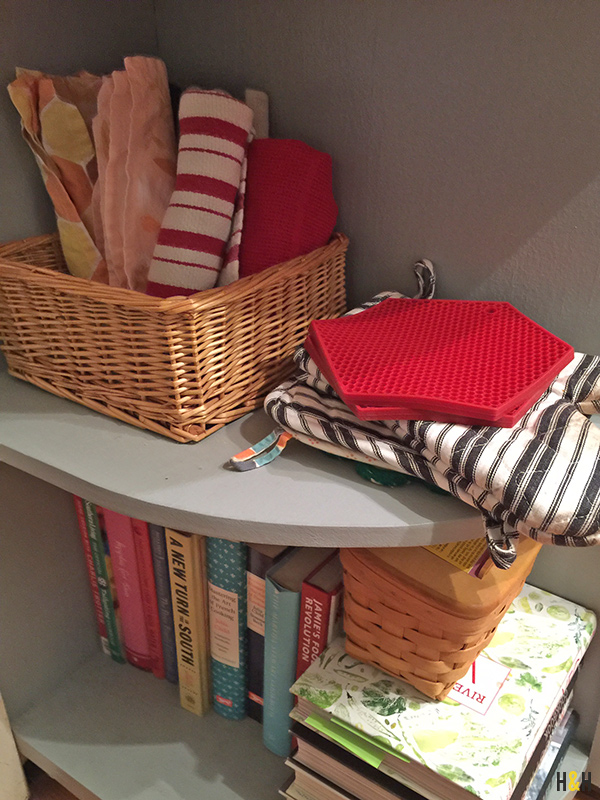
Pay attention to where you put things. We’d had the same layout for the eight years since we moved in and, I’ll be honest, some placings just didn’t work. Why didn’t we change them sooner? There’s no reason to dig through a drawer to find a hot pad when smoke is filling your kitchen and the lungs of 4 guests. Have those hot pads within reach of the stove!
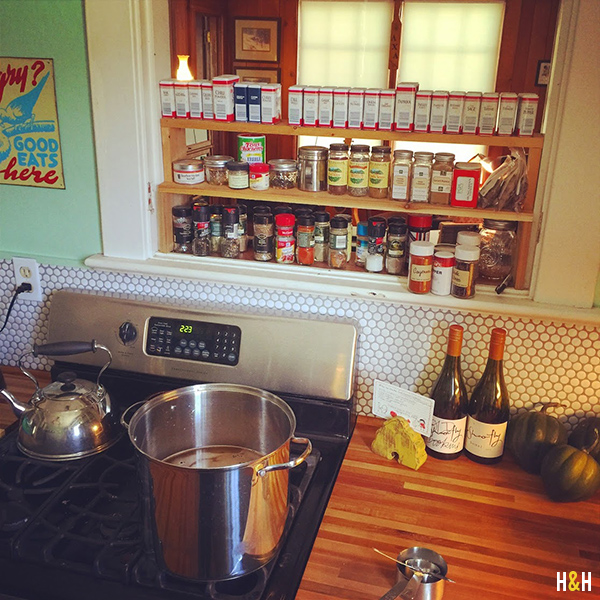
The spice rack* in the picture below? Lifesaver! I prefer to keep my spices in alphabetical order, but we had so many shoved in a cabinet that it was still impossible to find anything. So one day Husband built this beauty! Game changer.
A place for everything also cuts way back on clean-up time. It’s so much easier to unload the dishwasher when you know the exact space in a drawer that particular spoon should fill.
2. What makes for a pretty display?
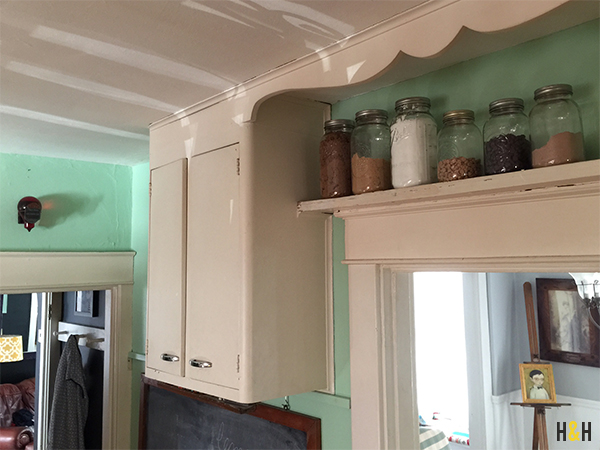
We used to shove all of our towels in a drawer. Now, you’ll find them colorfully filling a basket in the new shelf that Husband added. Whoever installed our top kitchen cabinets had obviously thought this through as well. There’s a lip on the back of the large bottom shelves where plates can be displayed to add a little color,. There are also little hooks to store tea cups or, in our case, measuring cups and spoons for easy access.
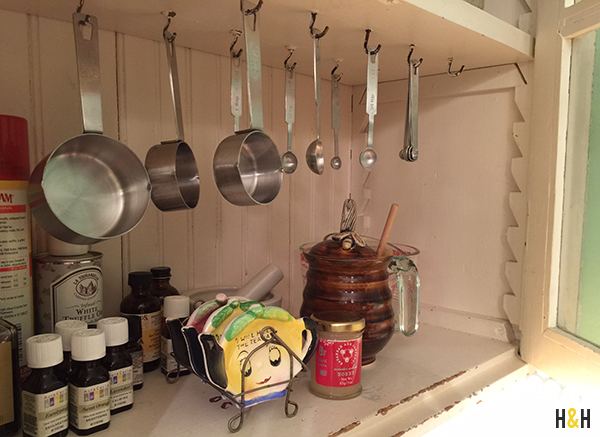
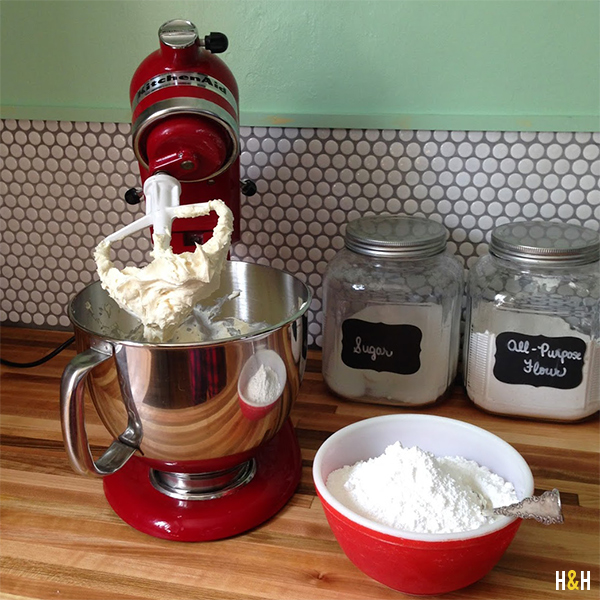
Finally: jars. We use jars* for storing everything from salad dressings to all-purpose flour. It’s nice to have everything accessible for an afternoon filled with baking, but it also just adds a nice feeling of ‘home’ to surround yourself with your most common of ingredients.


3. Use old things.
I have always been an “old soul,” and perhaps that is somewhat responsible for my obsession with old things. But it’s also just practical: old things were beautifully designed and, in many cases, were made better than the newest stuff on our market. So find old things from your grandmother or go estate sale-ing on a Saturday and then use them! In our kitchen, you will find clothespins in the coffee tin, crackers in the cracker tin, and a silver dish to hold all our soaps and sponges.


*When storing spices, oils, or any baking ingredients, it’s best to keep them out of direct sunlight. So pay attention to where the light falls in your kitchen before deciding on anything permanent.