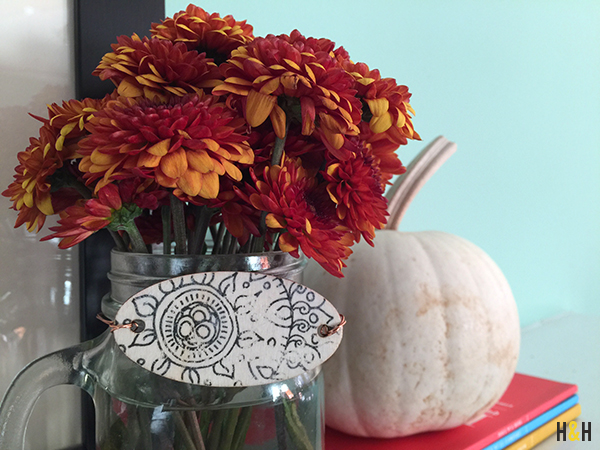
As I was doodling mandalas for DIYNetwork.com, I got an idea for a funky gift tag. In college, I played a bit with image transfers (like every other design student in history), and I’d been itching to try them again. So today, I thought I’d show you how I DIYed these gift tags using an image transfer. It adds such a personal touch and bonus: it’s super easy and quick–2 minutes + walk away for an hour + and 5 more minutes.
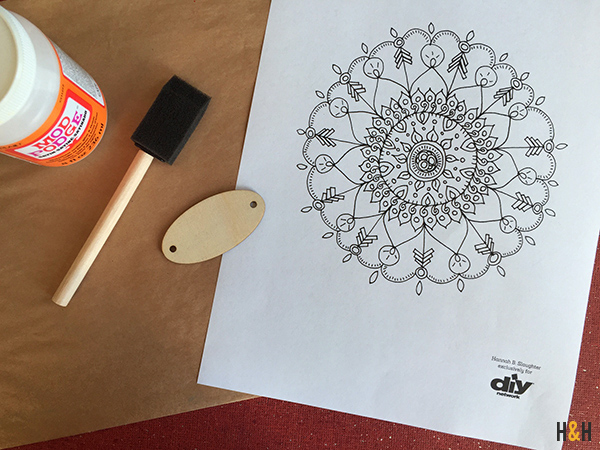
You’ll Need:
Mod Podge (Don’t worry about the sheen!)
foam brush
wooden gift tag
spray bottle full of water
an image to transfer*
*Note about the image: You can easily transfer a variety of images, but the easiest is a print made with a laser printer. If you want to make some bohemian printed gift tags like mine, click here to download the mandala I used from DIYNetwork.com

The first thing you’ll do is trace your tag with a pencil on the mandala. (I’d suggest doing several at once.)
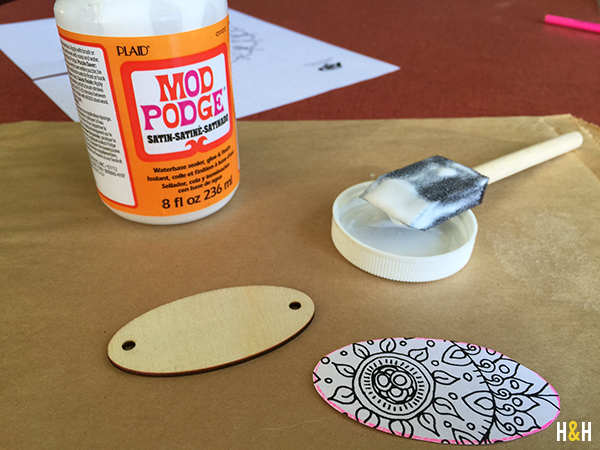
Cut out your traced shape And put a good layer of Mod Podge on the image.
Lay the image on top of your tag and walk away.
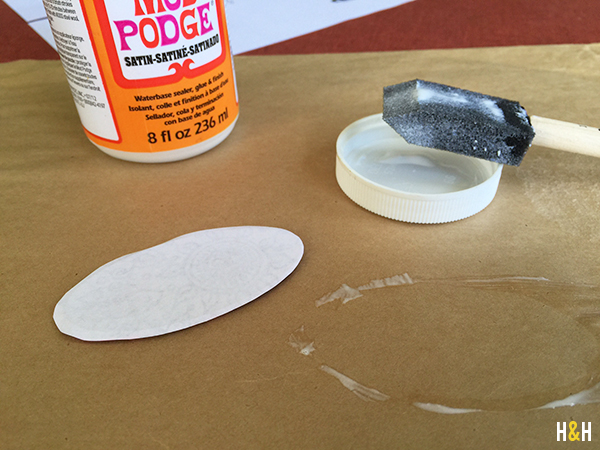
Let it dry for one hour.
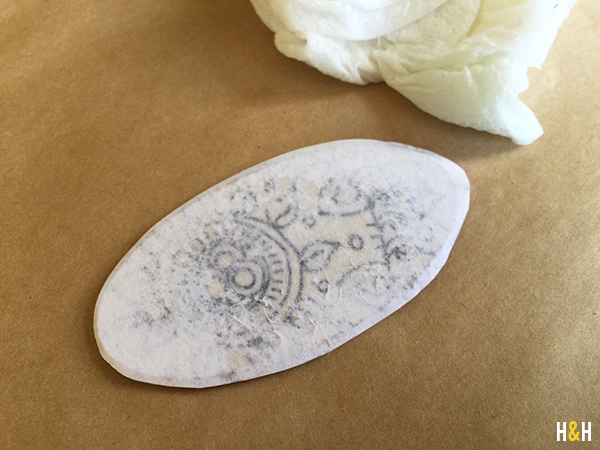
After an hour, use a spray bottle to dampen the paper. As it dampens, it will start to become translucent.
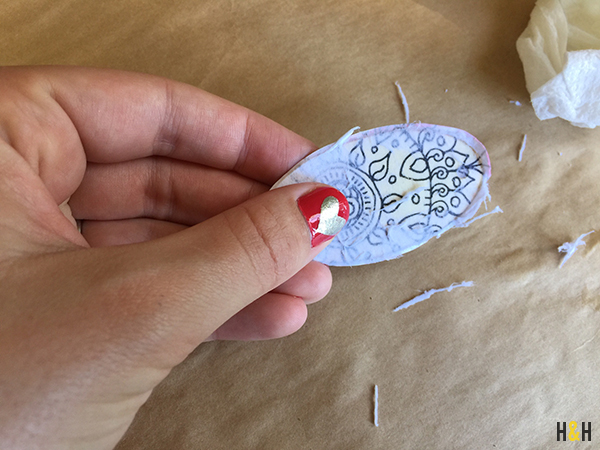
Gently start rubbing away the paper.

Alternate between gently rubbing away the paper and dampening until all remnants of paper are gone.
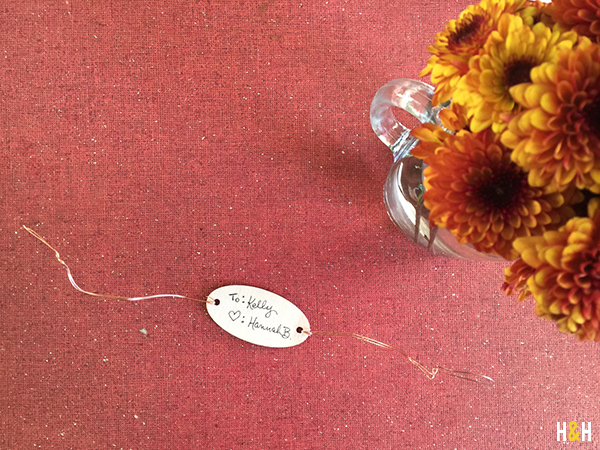
And that’s it! You can put a little message on the back of your label and then affix it to your gift.